Polaroid emulsion lift: how to make little works of art with minimal effort. Bored with your pictures? With the emulsion lift technique, you can turn Polaroids into small, unique works of art with very little effort. Explained step by step.
 Photos: Bahriye Tatli
Pictures you can touch!
All too often, great pictures gather dust on a hard drive and stay banished there for ever. Maybe you also have old family memories on Polaroid lying around that Grandma brings out in a family album once a year. Picking out a few photos to transform and reinterpret in unusual ways with the Polaroid emulsion lift technique is a chance to breathe new life into them.
The best part: you don’t need a professional darkroom for this technique. With a little warm water, patience and curiosity, you can experiment yourself – and cast a spell on your pictures in surprising ways. The result: organically distorted, often dreamlike compositions that turn every photo into a one-off!
What do you need?
You don’t need a darkroom, let alone expensive equipment, for the emulsion lift technique. A few simple materials, a little time and a willingness to let go of your pictures in order to transform them are enough. If a Polaroid is too precious to you, you can print a copy with the Polaroid Lab. That way you won’t lose that irreplaceable childhood photo if something goes wrong – which can easily happen the first few times, until you’ve developed the necessary touch!
You don’t need much to get started!
1. Bring time and patience, because although the process is simple, it can’t always be planned – and that’s exactly what makes it so exciting!
2. A Polaroid photo, ideally taken with a Polaroid Originals (formerly Impossible) camera or on I-Type/600 film. Unfortunately, prints from Instax or Zink printers don’t work, because their layers can’t be separated.
3. Scissors or a craft knife to carefully remove the Polaroid’s white frame and get at the image layer.
4. A warm water bath in a shallow dish. Water at around 40–50 °C loosens the emulsion.
5. A brush or a delicate touch to grip, move or position the fragile emulsion skin – however you like.
6. Paper or another base material: watercolour paper works particularly well, because it absorbs the wet emulsion and the texture stays visible. But you can also experiment with glass, fabric or wood!
Polaroid emulsions aren’t about reproducing something exactly – they’re about lifting an image and giving it a new form.
 Bahriye Tatli
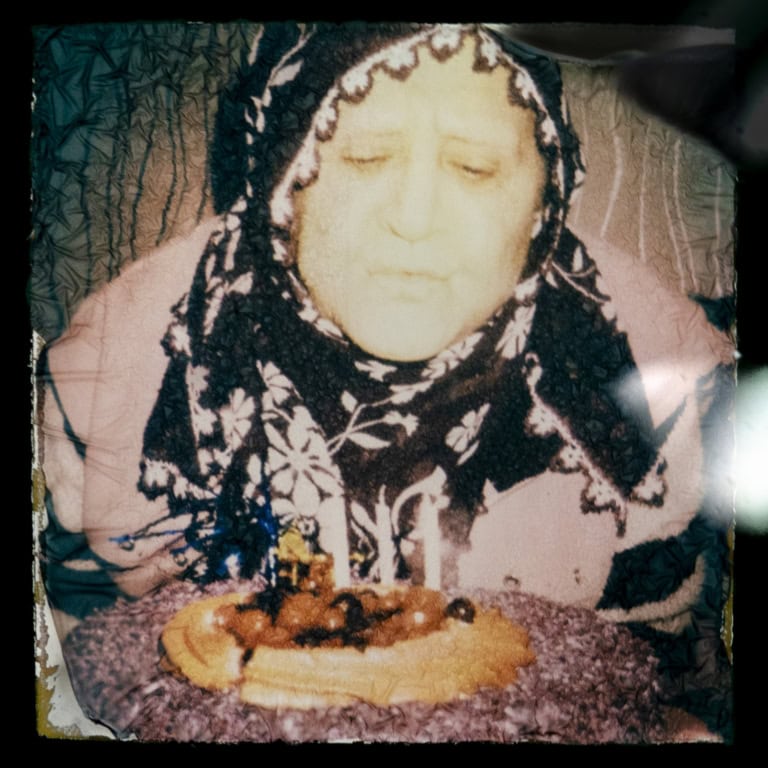
With a little warm water, a delicate touch and patience, a simple instant photo becomes a movable image object. The following steps show you how – no darkroom needed, but plenty of room for chance and creativity.
Step by step to your emulsion – let’s go!
1. Remove the frame
Start by carefully cutting the Polaroid free of its white frame along the edges with scissors or a craft knife. Work slowly – the image underneath is delicate. In the end, only the rectangular, glossy image material should be left.
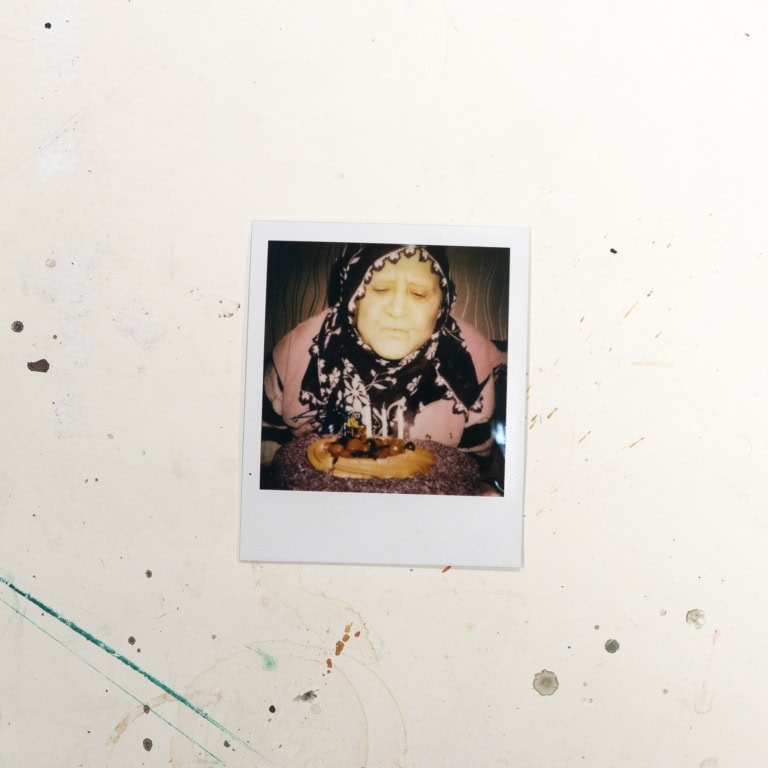

2. Put the picture in warm water
Fill a shallow dish with water at 50 °C and put the exposed picture in it. After a few minutes, the top plastic protective layer comes loose and has to be peeled off carefully. Underneath is the emulsion – your photo.
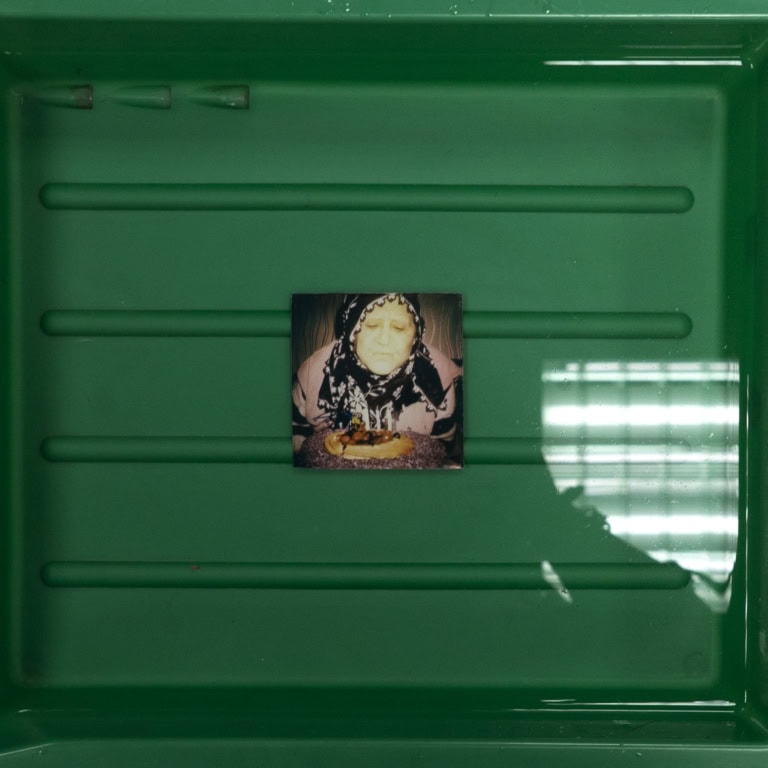

3. Lift the emulsion
After a few minutes, the emulsion layer starts to come away from its backing – usually at the corners first. As soon as the edges lift, you can help it along gently with a brush or your fingertips. Slowly peel off the thin, gel-like emulsion. It is elastic and fragile, so take care – every movement leaves traces that become part of the final picture!

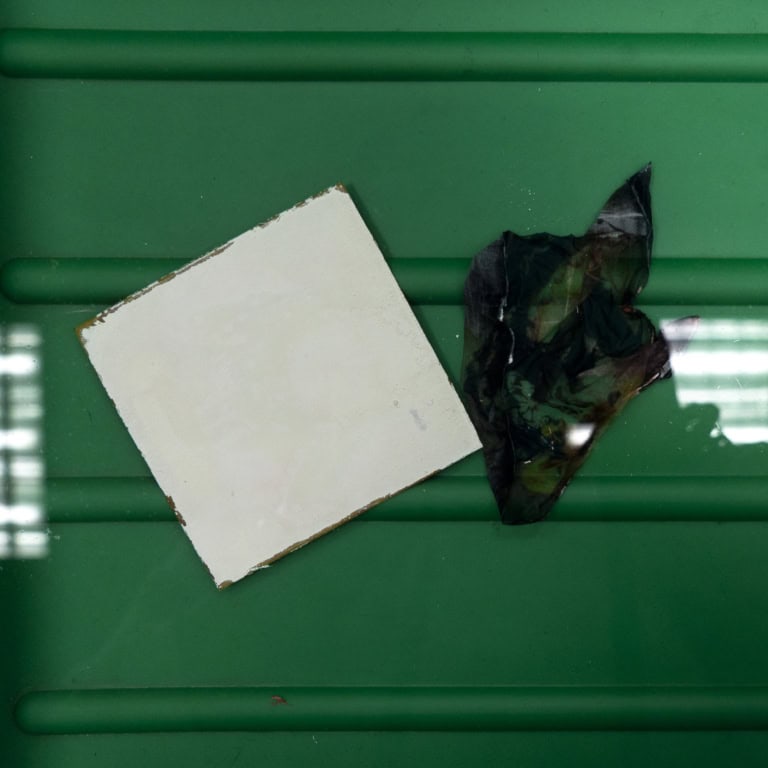
4. Transfer the emulsion to the new material
Now slide your chosen base material – watercolour paper, for example – under the floating emulsion. With a fine brush, you can slowly position the image skin on the new surface. The emulsion is easy to shift, stretch or distort – shape it however feels right!
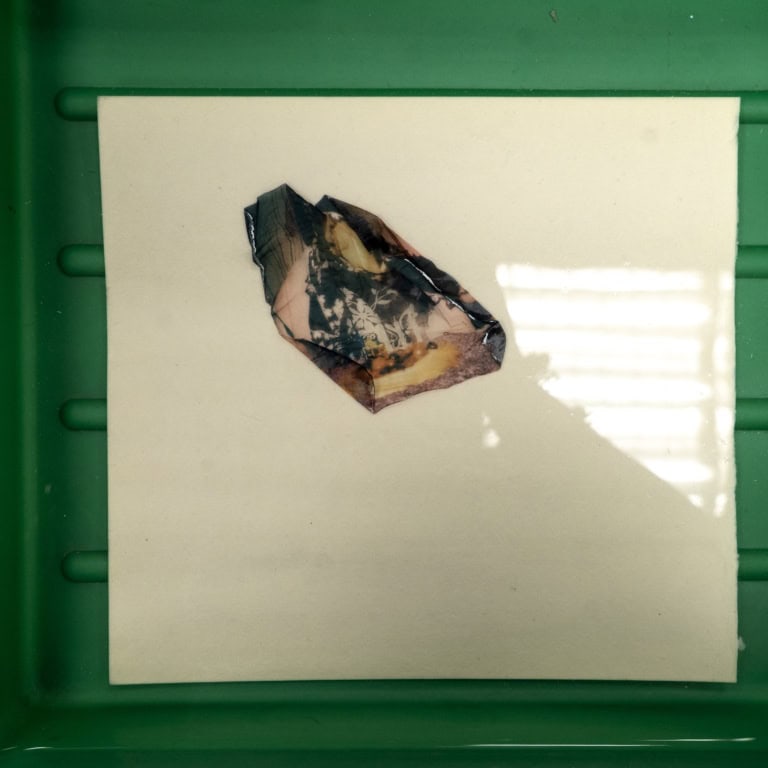
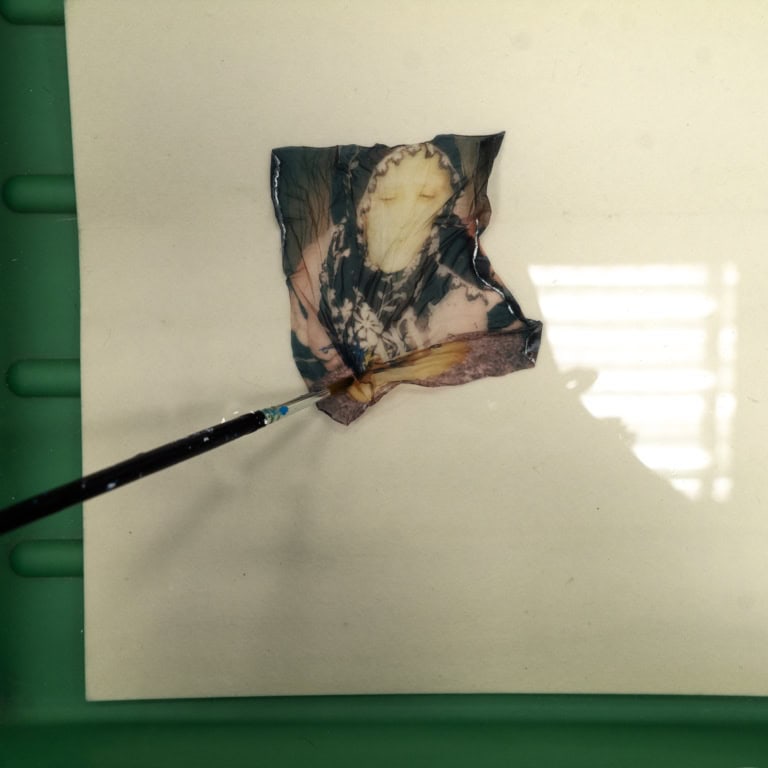
5. Give it shape
Once the picture is positioned the way you like, you can carefully lift it out of the water. Air bubbles, creases and tears aren’t mistakes – they can be used as stylistic devices! When the emulsion is where you want it, you can gently smooth it with a brush or your fingers.
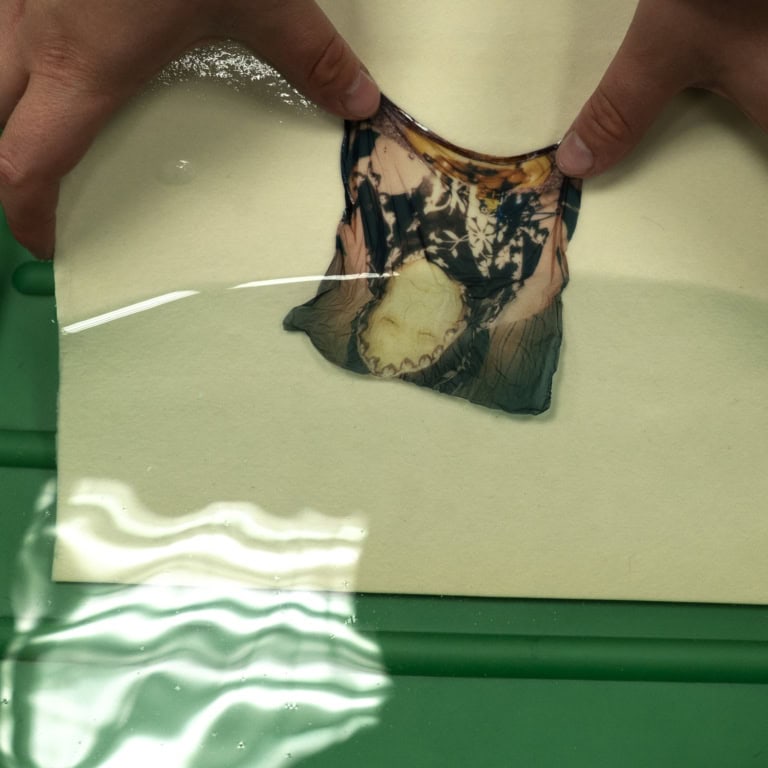

6. Let it dry
Put the finished picture somewhere undisturbed and let it dry completely. Depending on the base, drying takes several hours. After that, the emulsion is firmly bonded to its new backing – and your work of art is complete!
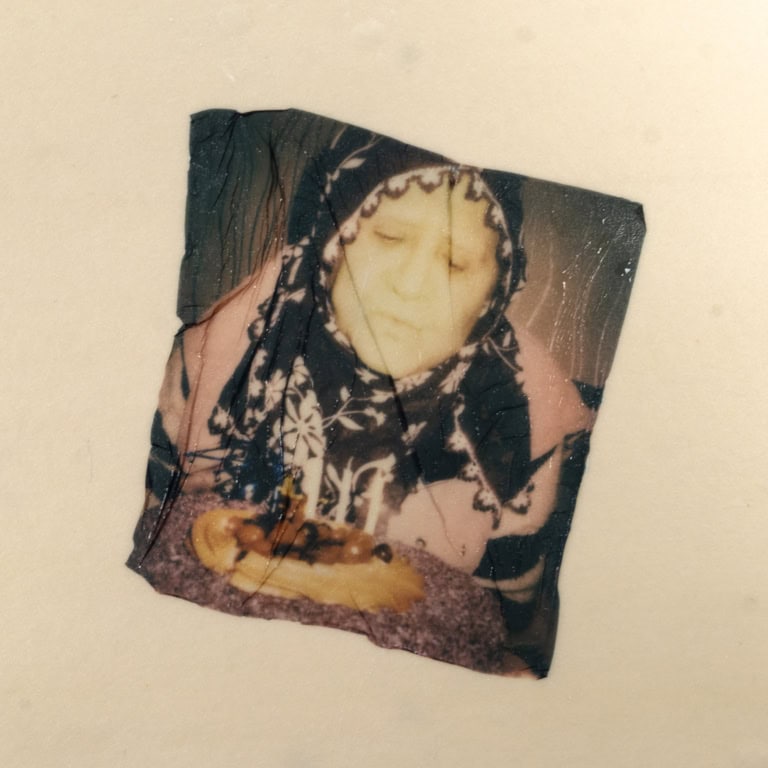 Photos: Bahriye Tatli

The exciting thing about the Polaroid emulsion technique is that it calls for curiosity, not perfectionism. Every picture reacts differently, every movement leaves its mark – and that is exactly the appeal. Whether you play with textures, layer pictures or reassemble them completely: it isn’t about control, it’s about letting go.
I really enjoy this technique, because you take the time to look at a picture for so long and brush it into shape by hand. Working slowly helps me give my photos a new value – far removed from quick editing, exporting and submitting.
If you’d like to see Polaroid emulsion used in a photo project, take a look at the article ‘Die Last der Blicke’ (The weight of the gaze), which Mayla Lüst wrote about my work ‘Handle Me Carefully’. There, the technique also plays a role in the content.
So: grab your scissors, heat some water, dip your picture in and watch a Polaroid turn into a little work of art. Have fun working your magic!