Studio lighting: techniques, lighting set-ups and tips for photographers. The right light makes or breaks a studio shot. We explain the most important techniques and lighting set-ups – and how to achieve perfect studio lighting step by step.
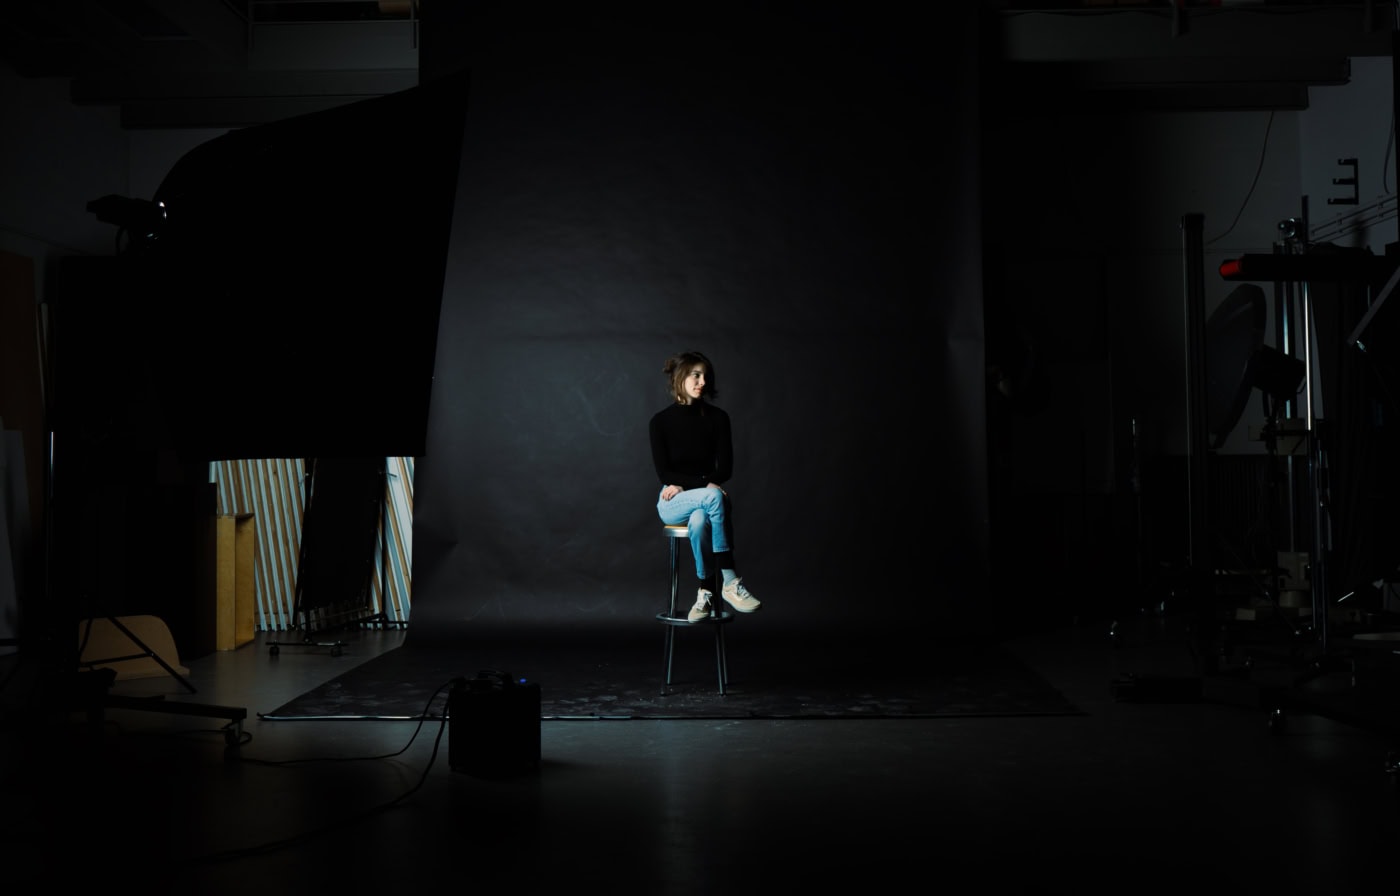
The right lighting is at the heart of all professional photography. In the studio, the photographer has complete control over the light, which makes it possible to shape atmosphere and detail precisely. Whether it’s a portrait or a product shot, the way you handle light determines mood and detail. By choosing light sources, positioning them and modifying them with tools such as softboxes or reflectors, you can stage any subject.
Light in the photo studio
In many studios, daylight plays a central role, flooding in through large windows. Daylight provides soft, even lighting that is ideal for authentic portraits. But daylight isn’t constant: it changes with the time of day and the weather.
So photographers have to stay alert during the shoot and keep a constant eye on the light. At midday in particular, direct sunlight can cast hard shadows that offer creative scope but can also create unwanted effects. In such cases, reflectors or additional light sources help to fill in those shadows and balance the picture.
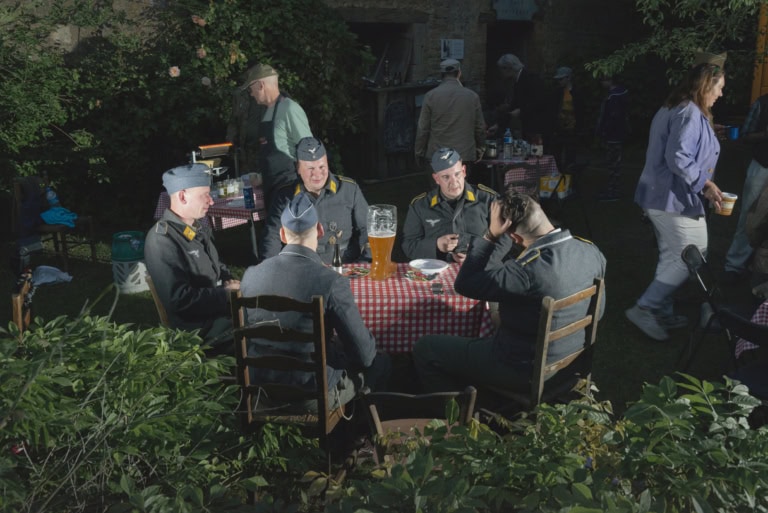
If you only want to work with artificial light, it’s best to black out the windows with opaque curtains so that daylight and artificial light don’t mix. That said, mixing daylight and artificial light can also be artistically interesting. It all depends on the photographer’s vision.
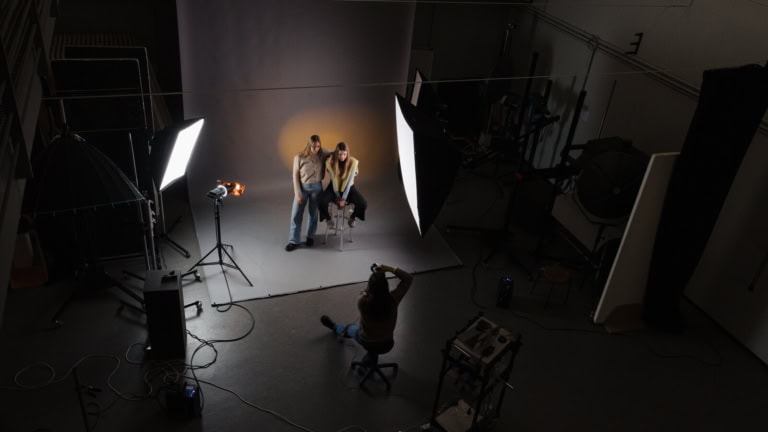
In a studio without windows, photographers can work precisely with flash or continuous light and shape the light exactly as they wish. But to get the best out of the available light sources, it’s important to get to know the various options. Only then can you achieve the effects you want and show every subject at its best.
Light modifiers – an important tool for perfect studio lighting
Each light modifier has its own specific use and can be chosen according to the desired effect and the subject being photographed. Choosing the right modifier is crucial for shaping the picture and enhancing its mood or atmosphere.
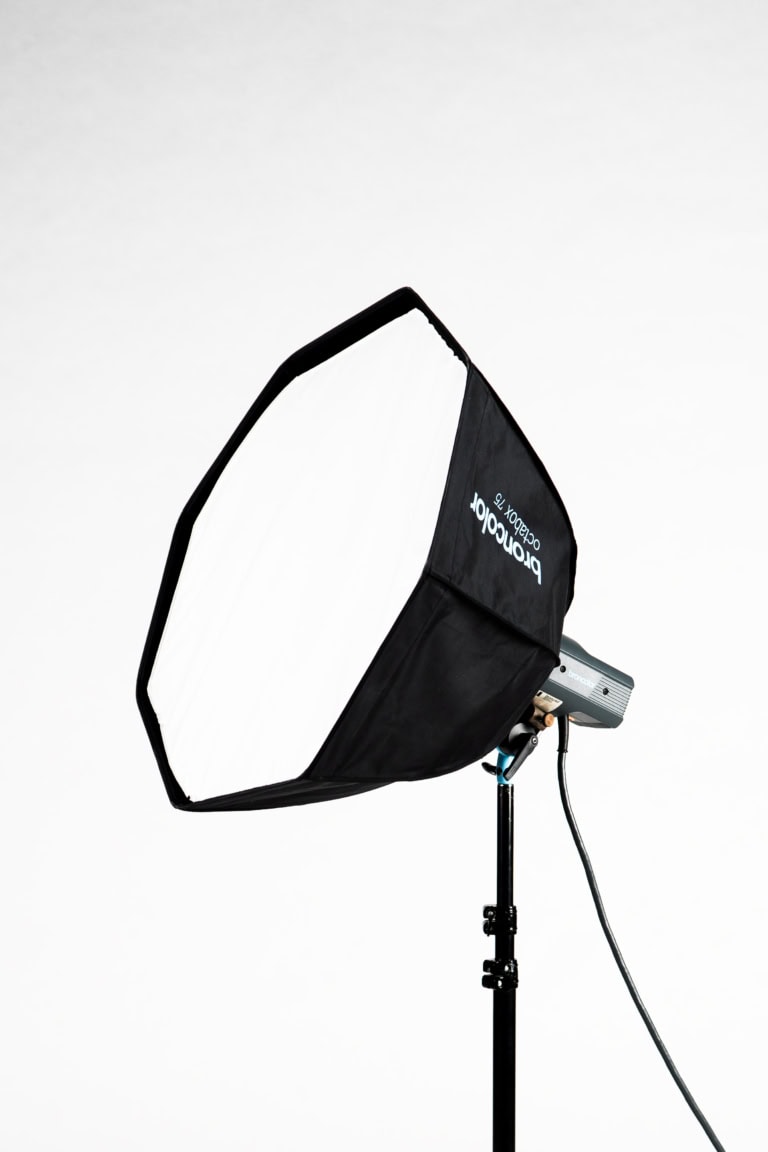
Softboxes These light modifiers are among the best-known and most common tools in the studio. Softboxes diffuse the light and create soft, even lighting that is particularly flattering for portraits and product photography. They help avoid hard shadows and cast the light gently onto the subject.
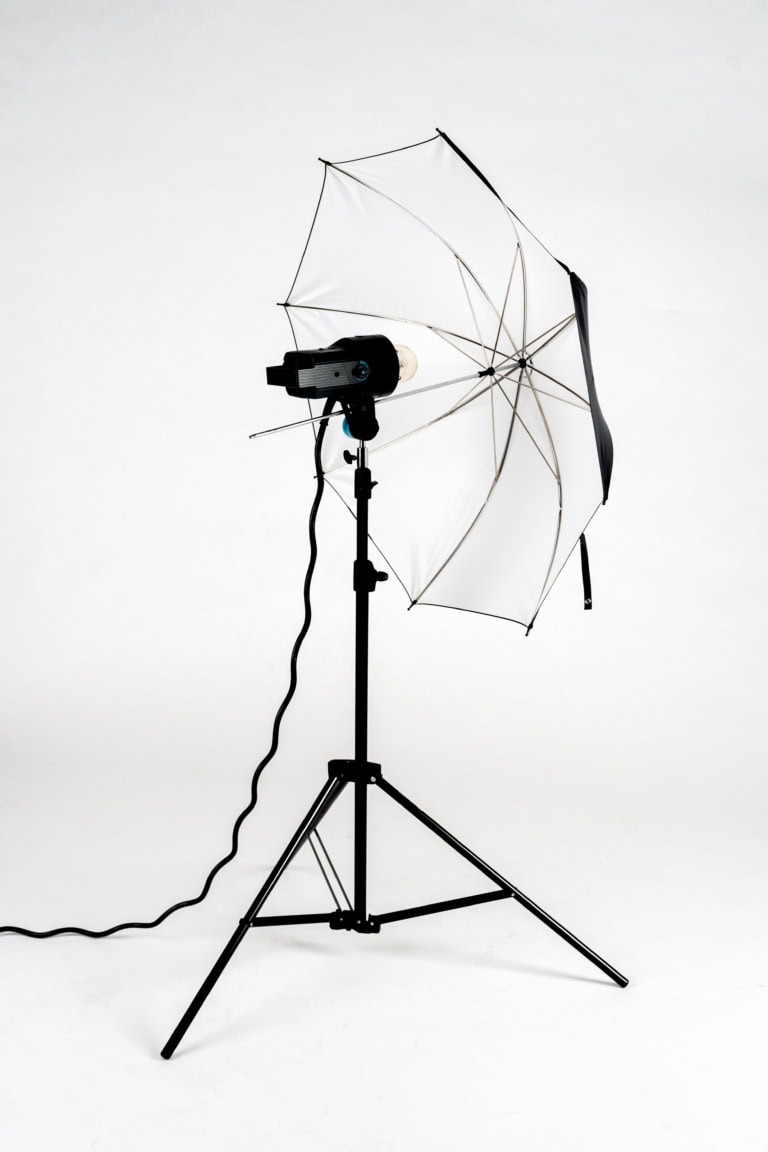
Umbrellas Umbrellas, such as shoot-through or reflective umbrellas, are also widely used. A shoot-through umbrella works much like a softbox, giving softer, more diffuse light, while a reflective umbrella bounces the light off its surface, which also creates soft lighting. Umbrellas are easy to handle and an inexpensive way to modify light.
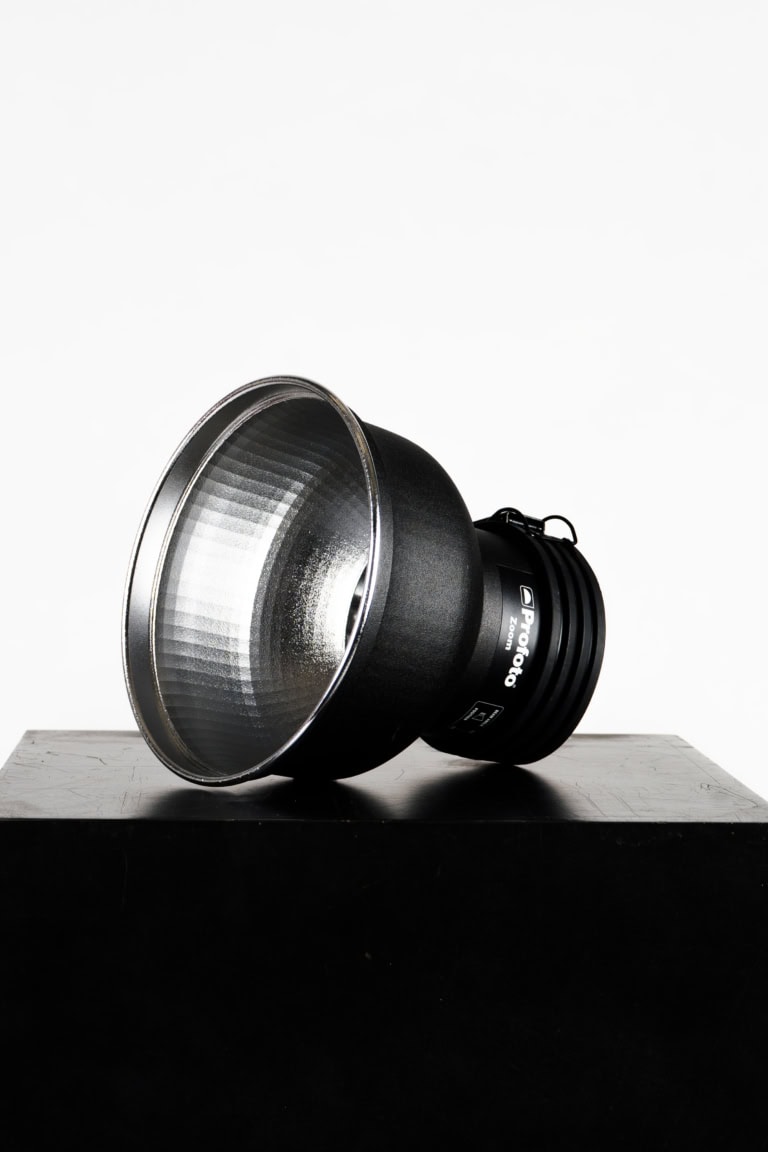
Standard reflector
The standard reflector is used above all to direct light precisely onto the subject. It comes in various sizes and colours (white, silver, gold, black) and can brighten the light or emphasise particular areas.
Silver reflectors create cooler, more intense light, while gold reflectors give warmer, softer light.
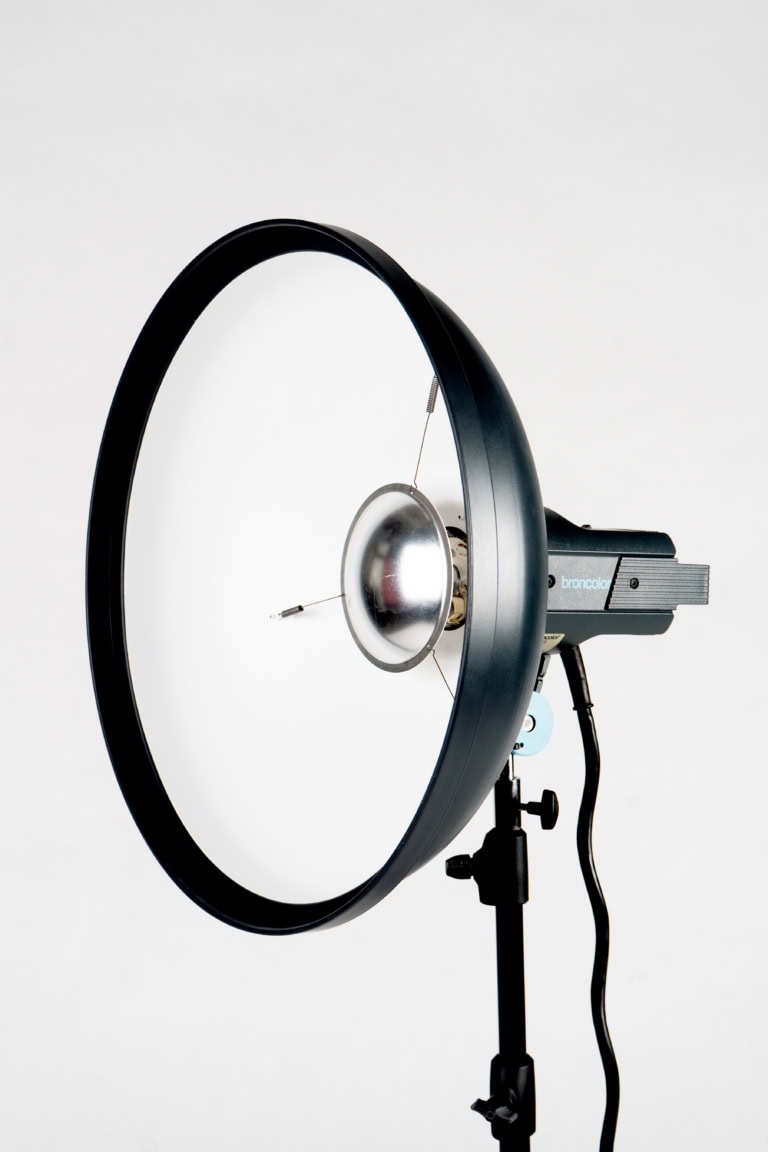
Beauty dish This light modifier creates soft, directional light. The flash or continuous light is bounced back by a small reflector in the centre of the dish and then directed forward by its large reflective interior. Because the beauty dish spreads the light strongly, brightness falls off noticeably towards the edges. This creates a highlight in the centre, where the model’s face ideally is, drawing the viewer’s eye straight to the main subject. The beauty dish is popular in beauty and fashion photography.
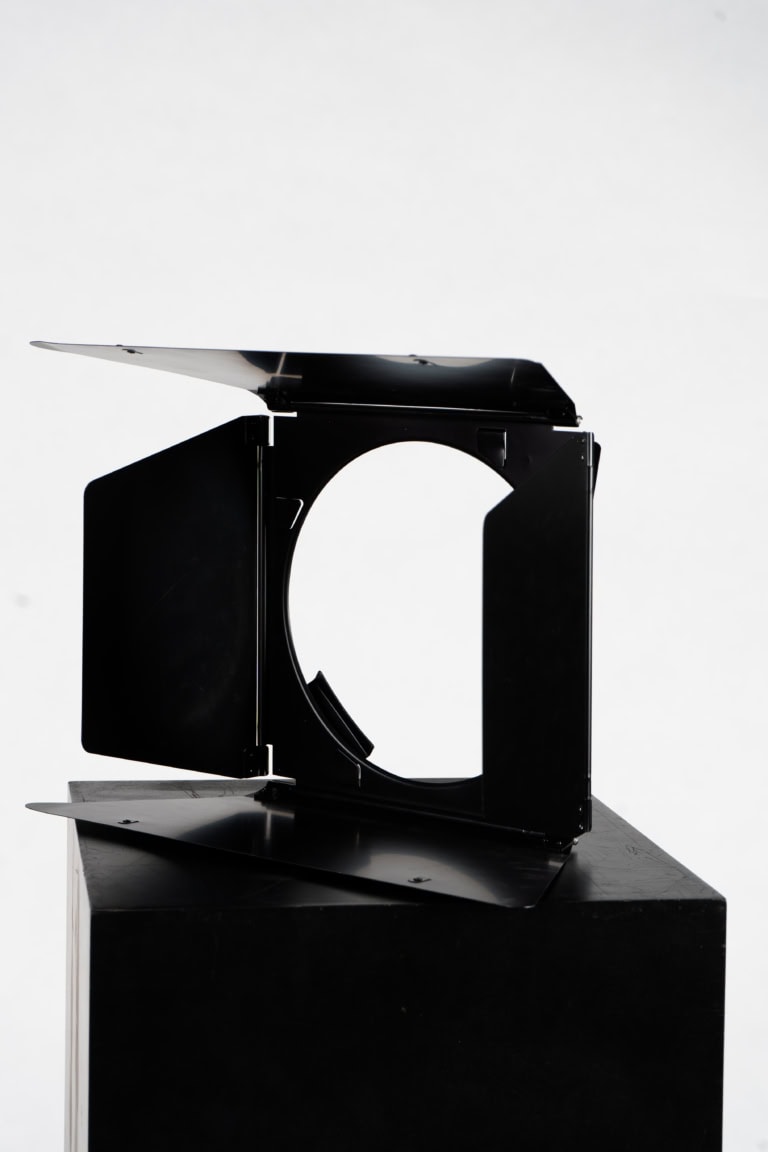
Barn doors
Barn doors are flaps attached to the front of a light source to direct and focus the light.
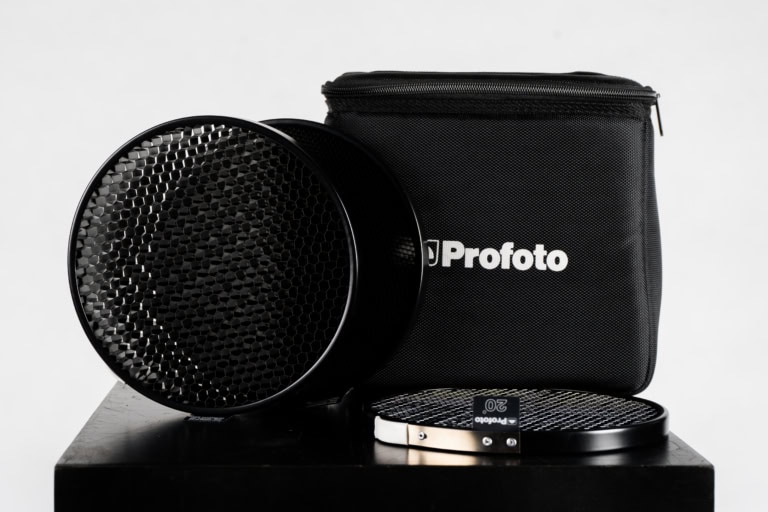
Honeycomb grids
Grids are used to place light and shadow precisely and emphasise particular areas. They are often used in portrait, fashion and product photography to create visual tension and interesting plays of light.
Additional accessories such as collapsible reflectors or polystyrene boards can be used effectively as fill to add targeted accents. These simple tools are ideal for lifting shadows or gently emphasising certain parts of the subject.
Polystyrene in particular is a low-cost alternative and ideal for photographers who can’t yet afford expensive equipment. Colour gels also offer a creative way to change the lighting: they are stretched in front of the light source and give the light the colour tint you want.
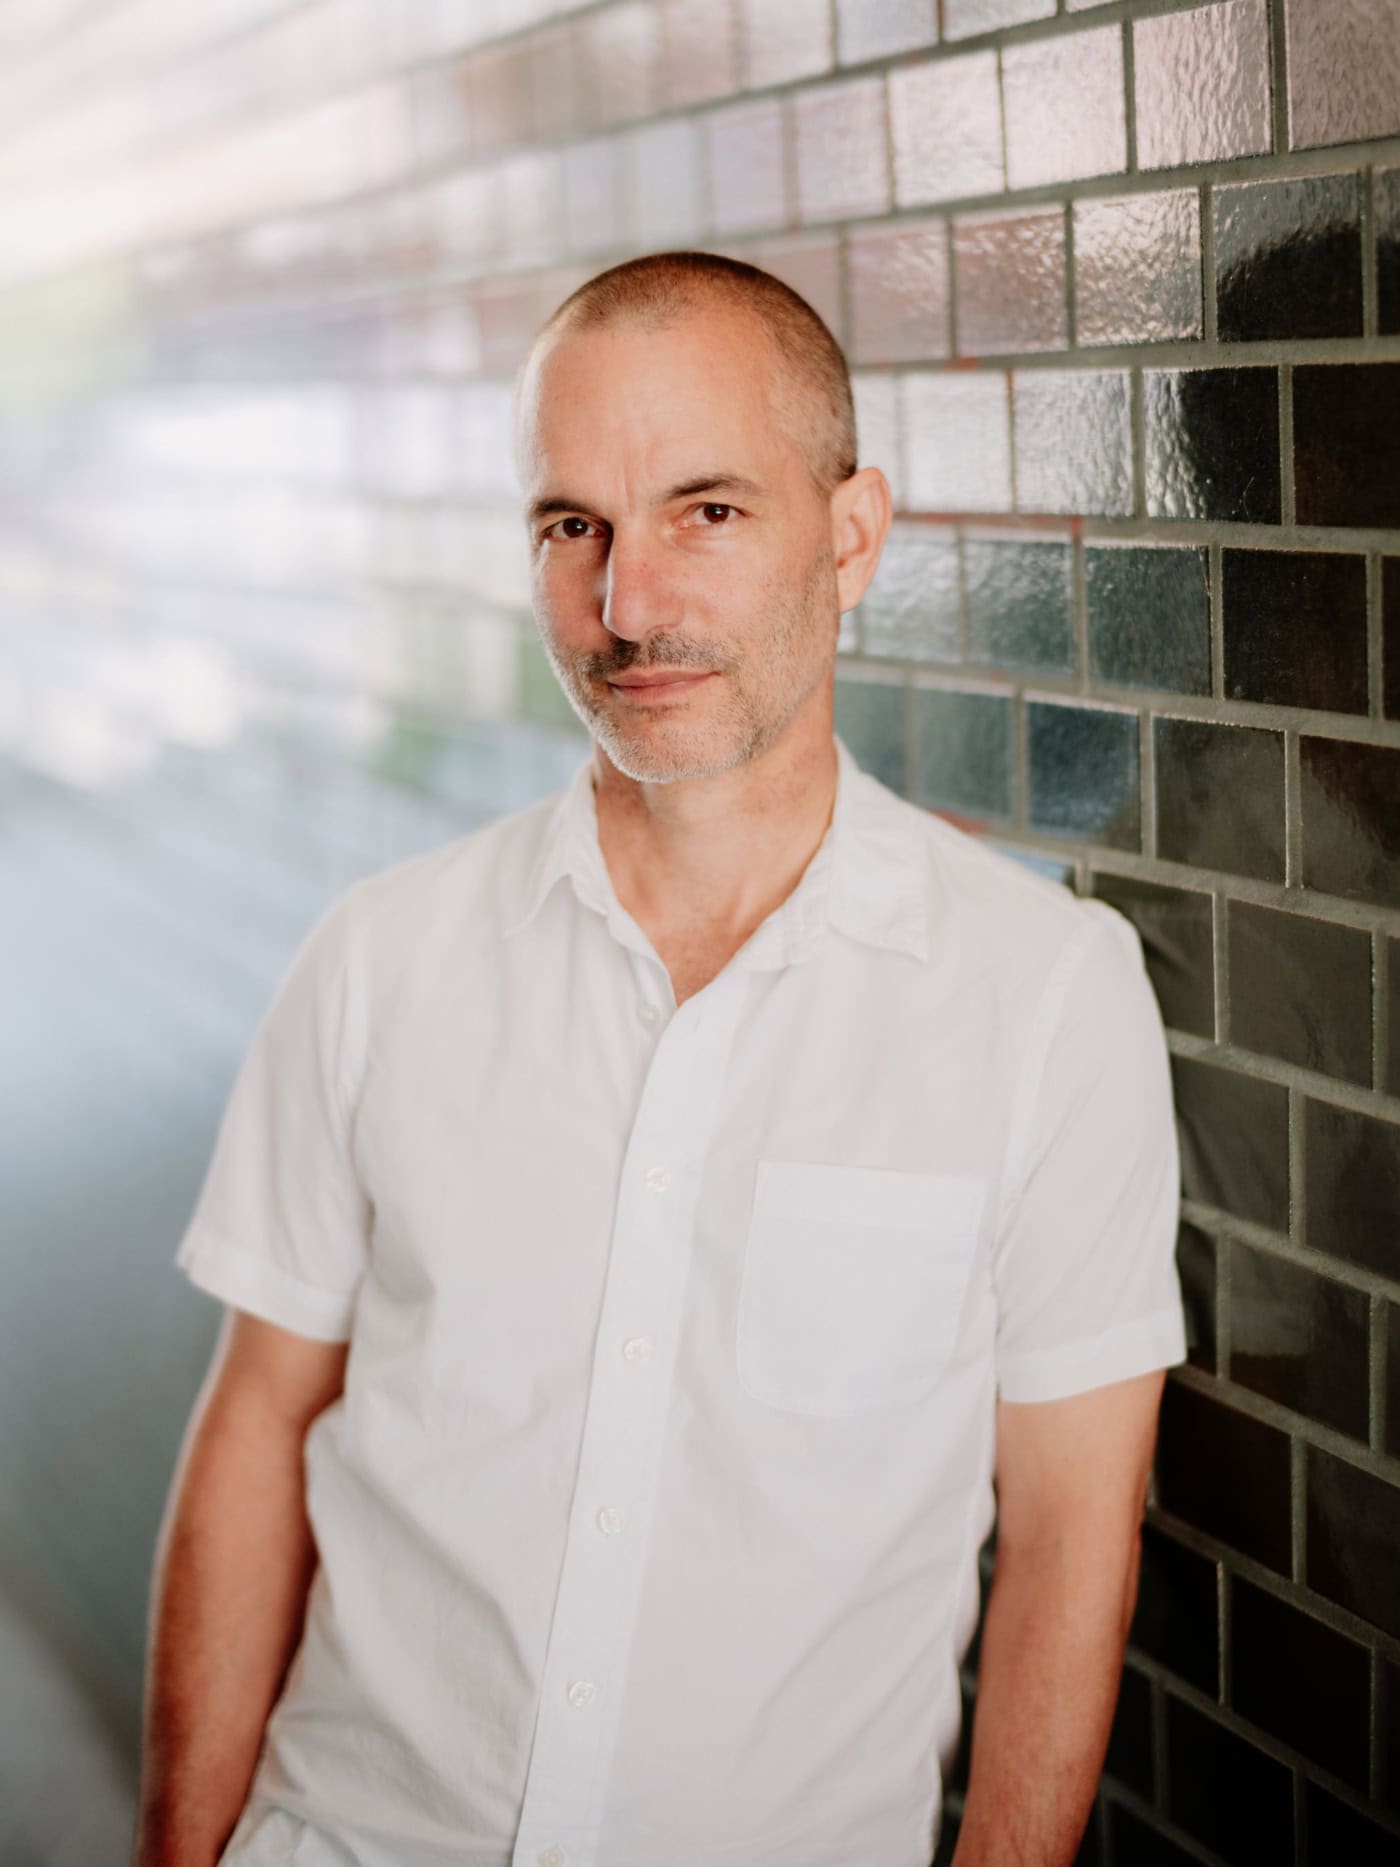
Enver Hirsch has taught regularly at Hochschule Hannover since 2019. He studied photography at Bournemouth & Poole College of Art and Design in England. After returning to Germany, he began working editorially, and his degree project attracted a great deal of interest in the magazine world. He has worked mainly in that field ever since, with occasional excursions into other areas.
How has studio photography influenced your editorial work?
Right from the start of my editorial work, I was interested in forms of storytelling from other fields. I always found it exciting to see how advertising, for example, works visually, and I liked to build parts of that into my editorial work – shooting with artificial light, for instance. It’s become a bit more common now, but when I started out it was really, really exotic.
What fascinates you about studio photography?
What fascinates me is having a certain degree of control. I was never someone who walked along with a demonstration and just took pictures; I always worked very selectively, pursuing a kind of essayistic curation. I’m not just someone who observes – when I tell a story, I often think in advance about which subjects I want to photograph. Sometimes the stories I’m shooting for are already written, and then I think: OK, which components do I need?
What camera equipment and lenses do you use in the studio to bring your ideas to life?
Basically, I’d say it doesn’t really matter at all. Especially in the studio, because you may work much more slowly there than outside. I’d say it matters more on a reportage assignment that you have something like fast autofocus. The only things you need to think about are the quality of the lenses and the resolution of the files. Otherwise, equipment is just a tool, like a hammer or pliers.
Which light sources do you use most often?
When I’m in my own studio, I use a studio flash system – a generator with two flash heads. I also have two compact flashes, so I have four light sources in all, and that’s my basic kit. When I use flash outdoors – which I do quite often, so I’d extend my personal definition of a studio to that – I’ve recently preferred battery-powered flashes, because they’re more practical. You don’t need sockets, and everything becomes lighter. I try to downsize and simplify as much as I can.
What are your best tips for handling mixed light?
Well, if you buy an on-camera flash, whose colour temperature matches daylight, many manufacturers now offer filter sets that attach magnetically and let you ‘simulate’ other types of light – fluorescent tubes or other artificial light, for example.
How important is the background in studio photography?
For me, extremely important, actually. That’s why, even though I use studio equipment, I’m not a huge fan of the classic studio: backgrounds matter enormously to me. If you want to say something about people, that’s not so easy in front of a grey paper backdrop. You have no additional information, and I always find that a bit of a shame. Of course, there are also plenty of cases where you have to shoot to meet a specific need – small portraits for websites, for instance, which often benefit from a simplified background.
What would you say are the most important factors for achieving perfect studio lighting?
The most important factor is your own brain. You should have given some thought to what you want to achieve. Photography isn’t rocket science, and you can put a lot of things into practice fairly well and quickly. You just need something like a plan in the studio.
Are there any challenges in studio photography to be aware of?
The scale of the technical equipment and the associated costs if you want to buy your own kit. Otherwise, it’s what I’ve already said: the biggest challenge is to ‘bring photos to life’ in a relatively sterile environment and to tell an interesting story.
And what are the challenges on the technical side? Are there brands you prefer?
There aren’t really huge differences. There are two or three very expensive brands, such as Broncolor, Profoto and Briese. But I’d only recommend them to people who have a chance of earning the money back. The equipment is good, but ultimately overpriced. For some years now, there have been quite a lot of Chinese suppliers such as Godox, which probably cost a third of the premium brands and are perfectly good to work with.
How do you plan a studio shoot? Which steps are part of good preparation for you?
The most important thing is actually agreeing things with the client. What do they have in mind, what do I have in mind, and how can I ideally do both? I try to clarify as much as possible in advance and then gradually feel my way forward on the actual job. Getting on with people is also important. A decisive factor is that everyone involved feels reasonably comfortable.
How important is post-production in photography?
In studio photography it’s not that important, because I have a lot of control in the studio. The exposure is usually spot on already. I tweak the contrast or colour a little, but not much more than that. I used to use Capture One, as it was the best program for studio photography, but these days I prefer Lightroom.
In your view, is there a valuable lesson from your career as a photographer?
I used to make a lot of things too complicated, and then I realised that simpler is actually better. So sometimes it’s better to use one lamp too few than one too many.
What would you recommend to beginners who want to get into studio photography?
I think patience is a big requirement. You need to bring that with you, I think, and enjoy detail a little. Unfortunately, studio photography isn’t very intuitive. But I don’t think you necessarily have to start with flash straight away – you can work with daylight or artificial light first.
I used to make a lot of things too complicated, and then I realised that simpler is actually better
 Enver Hirsch
Lighting set-ups – shape your photo the way you want it
There are various lighting set-ups in photography, each of which can have a different effect on the subject and the mood of the picture. The choice depends on the look you want, the subject and the photographer’s creative intention. Here are some examples of how you can shape your subject with a particular lighting set-up.
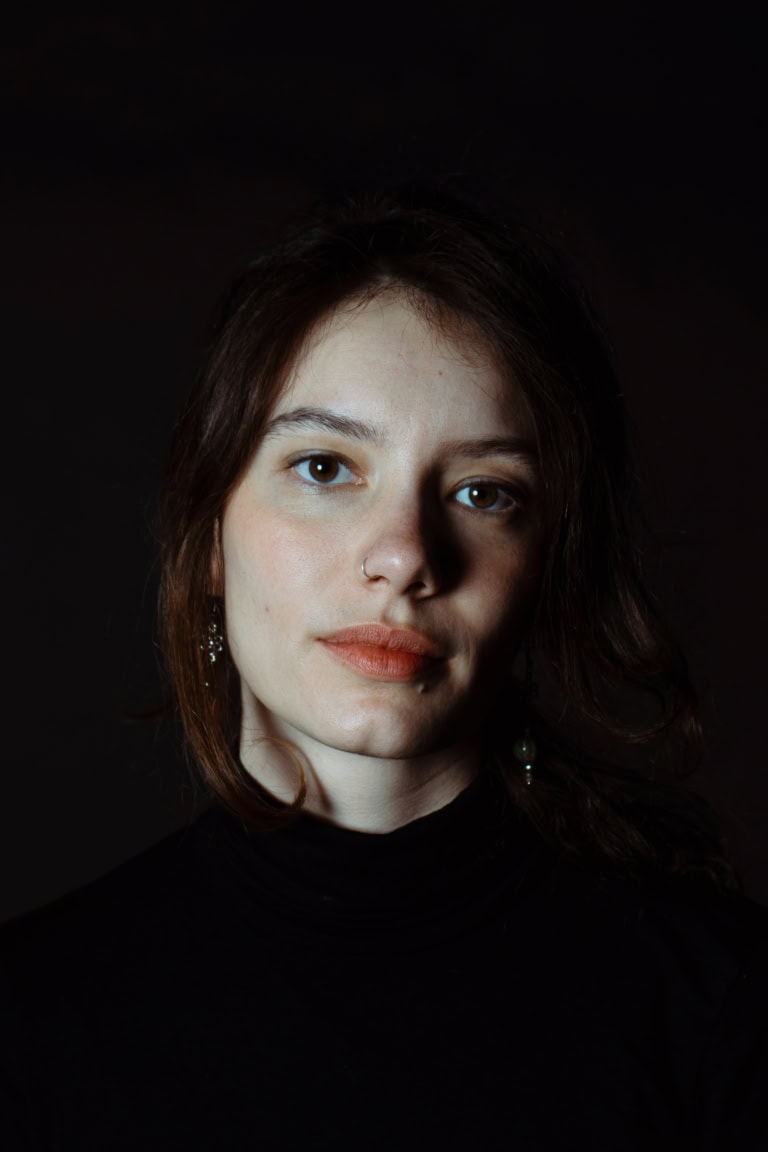
Key light The key light is the main light source illuminating the subject and sets the dominant direction of light in the picture. It can be soft or hard, depending on the modifier used (e.g. softbox, beauty dish or reflector). It is often combined with other light sources to model shadows and emphasise depth.
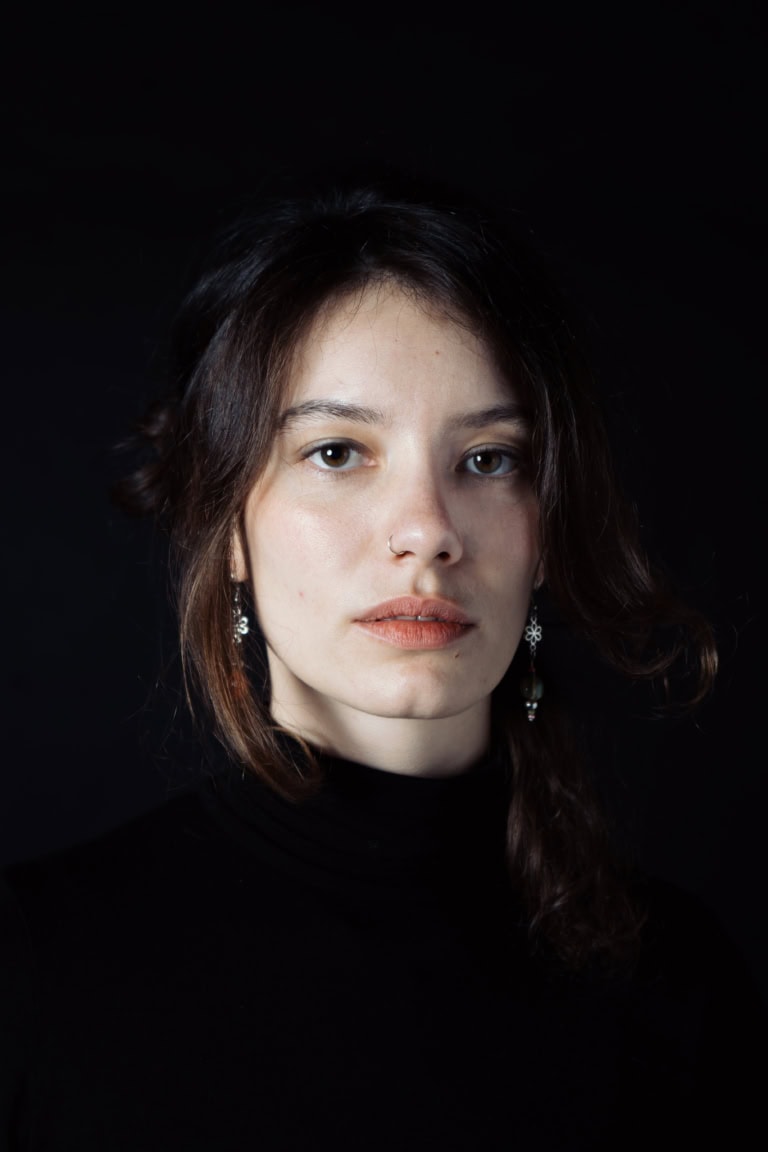
Fill light
Fill light is used to lift the shadows created by the key light and reduce contrast. It is usually less intense than the key light and can be created with reflectors or weaker light sources.
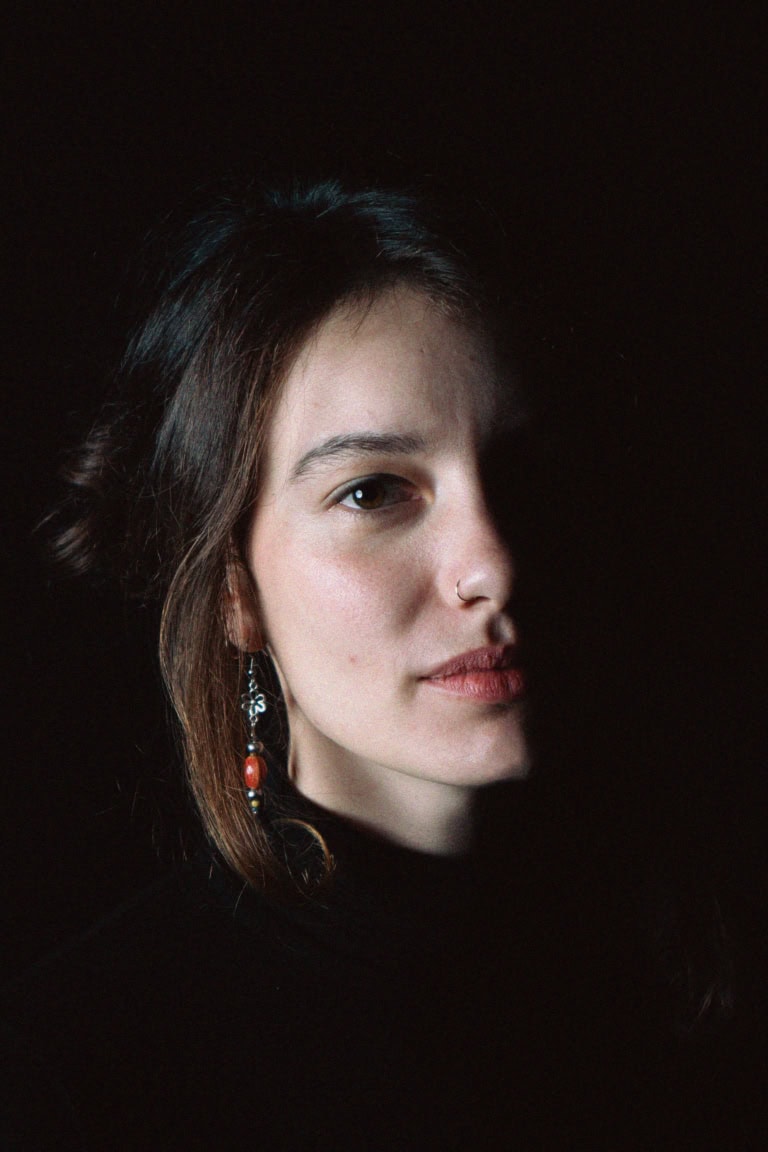
Split lighting
Split lighting creates dramatic illumination by lighting only one side of the face and leaving the other in shadow. The technique is excellent for creating strong contrasts and edges, and is often used in portrait photography for a striking, sometimes menacing effect.
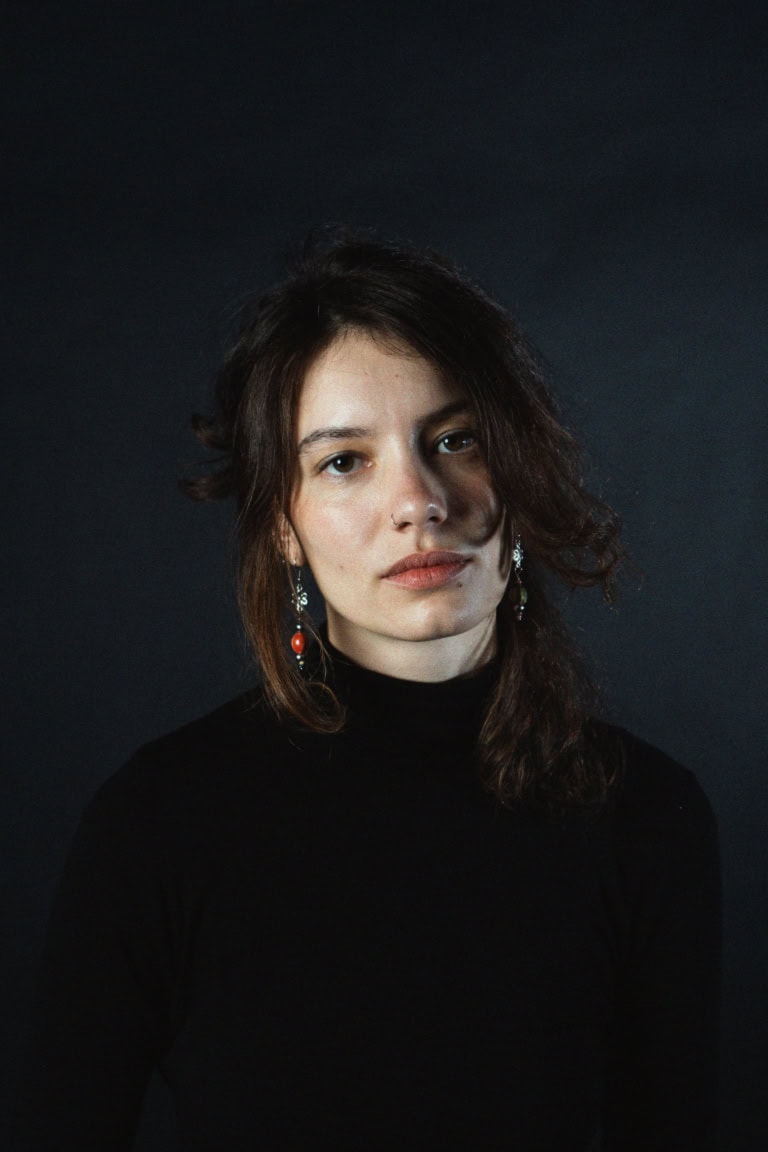
Background light
A background light is used to light the background of a photo. It helps separate the subject from the background and can make the picture more visually interesting by adding depth. It can be aimed directly at the background or spread through the room.
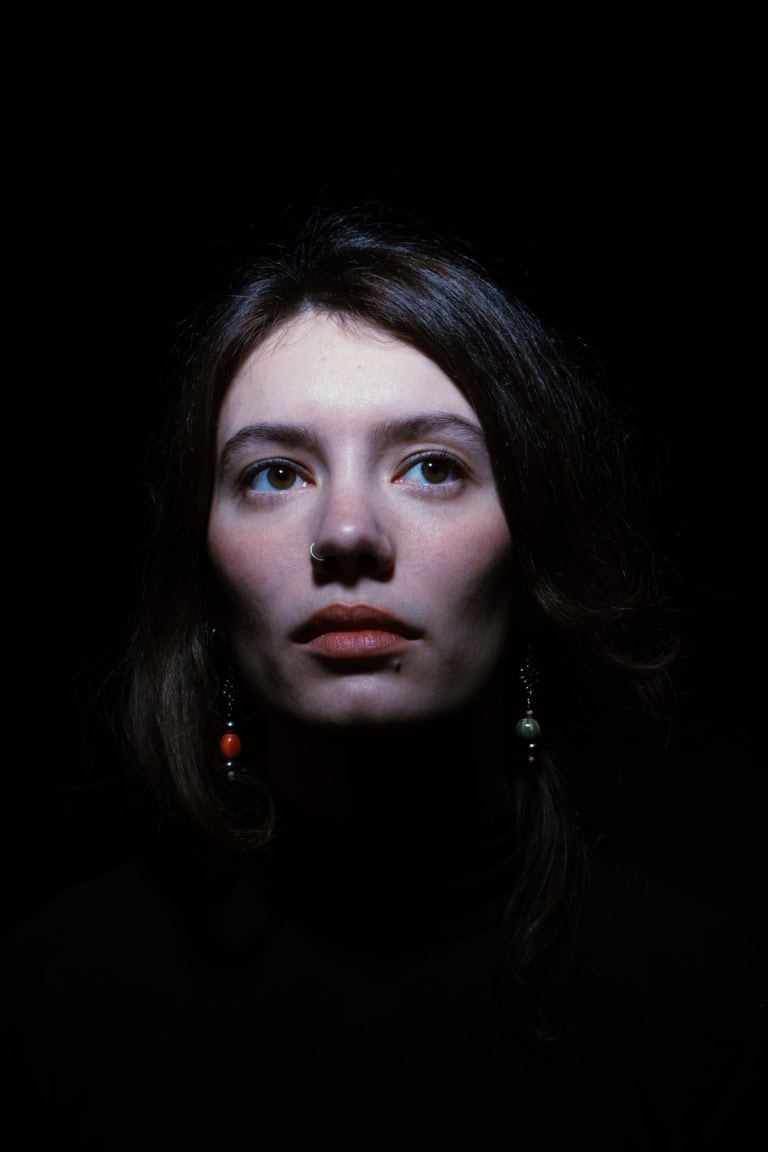
Butterfly lighting Butterfly lighting is a classic technique in which the key light is placed directly above the camera. The light falls evenly on the face, creating a characteristic shadow under the nose that looks like a butterfly – hence the name. It is often used in portrait photography to model the face and emphasise the cheekbones, for example.

Rembrandt lighting Rembrandt lighting is a popular technique named after the famous painter. It creates a characteristic triangle of light under the eye on the shadow side of the face. It is often used for classic portraits or dramatic photos.
Conclusion
For beginners in the studio, the sheer number of options may seem overwhelming at first, but with a little practice and a willingness to experiment, lighting soon becomes a creative playground in which every photographer can develop their own signature. Anyone who gets to grips with the basics of lighting has a tool in hand to master any studio session!