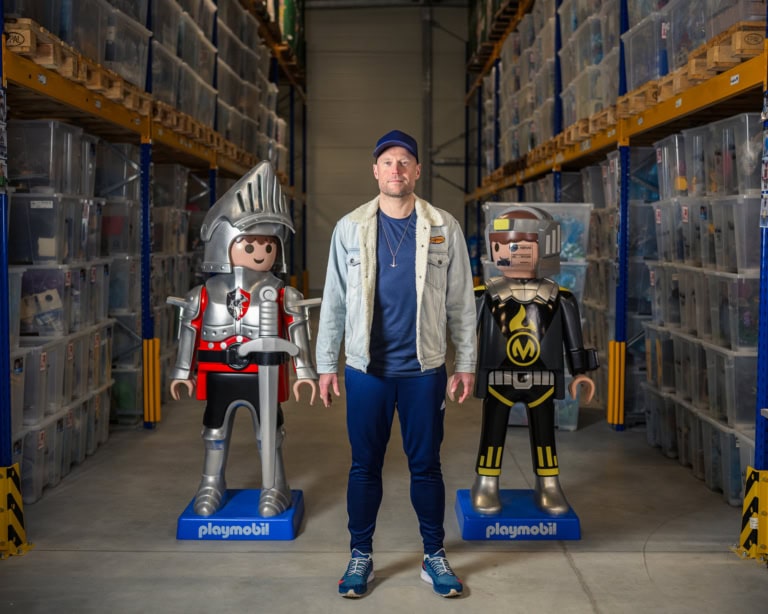
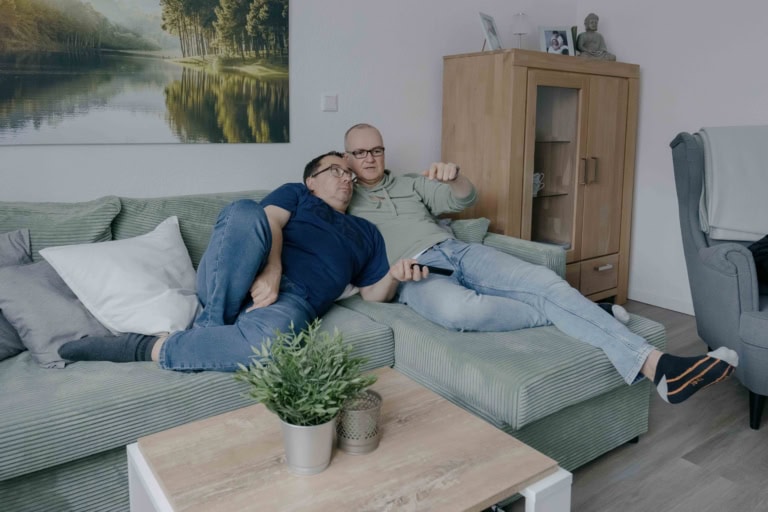
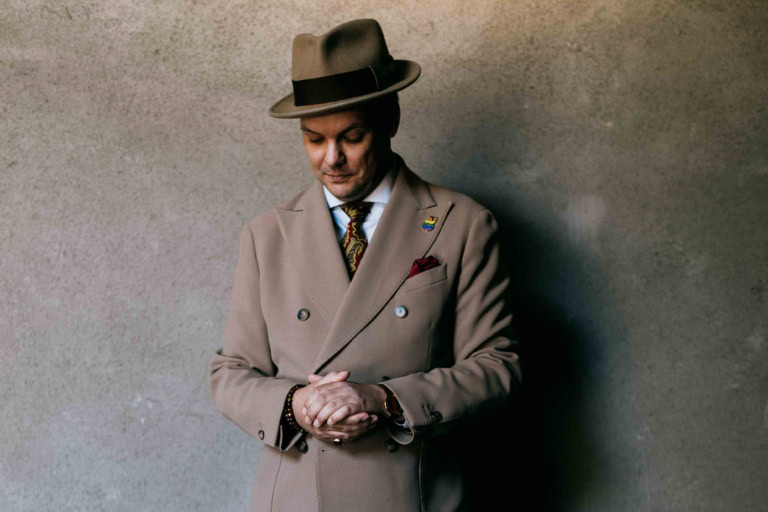
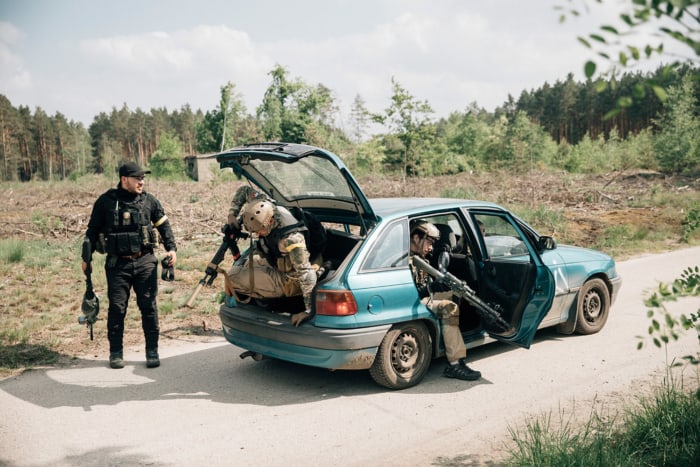
What makes a good photo reportage: characteristics, examples and tips. A clear focus on the people in the story, powerful pictures, strong storytelling: using examples, we show you the hallmarks of a photo reportage that grips and stays in the mind.
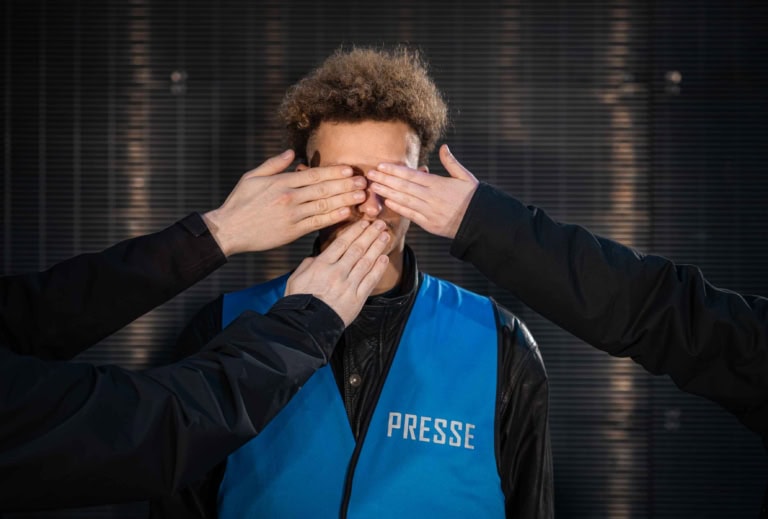
 Photo: Fabian Niebauer
A photo reportage is first and foremost a series. It is a form of visual storytelling in which a sequence of photographs is used to document a story or a particular subject vividly. Unlike single pictures, which are often viewed in isolation, a photo reportage links several pictures into a narrative whole.
Contents
1. Idea and planning. A good photo reportage starts with a genuine interest in a subject. Research and thorough preparation are essential.
2. Technology. The craft side of the work requires the right tools. What do you take with you on assignments?
3. Production on location. With creativity, flexibility and a trained eye. How do you capture the perfect moment?
4. The edit. What to do with all those photos? Tips on editing and processing your reportage.
5. Follow-up: What still needs doing once your photo reportage has been shot, processed and sequenced?
It isn’t just about the typical reportage aesthetic: the aim is to evoke emotions, convey information and make connections clear.
This guide to photo reportage is about how exciting stories can be told visually and what role planning and research play. It also shows how to combine the various elements of a reportage – opening pictures, detail shots or closing pictures, for example – in a meaningful way. The focus is on how photographers can turn their ideas into a strong visual story that grips the audience and makes them think.
How it all began
The photo reportage emerged in the early 20th century with magazines such as LIFE and agencies such as MAGNUM, and was shaped by photojournalists such as Robert Capa and Dorothea Lange. Despite digital change and social media, it remains relevant – whether in magazines, online media or as long-term projects in book form.
It holds its own in the media landscape because it creates closeness – it tells stories straight from the scene, emotionally and authentically. In an age of information overload, it remains relevant because it shows not only what is happening but also why it matters to show it – whether in magazines, online media or as long-term projects in book form.
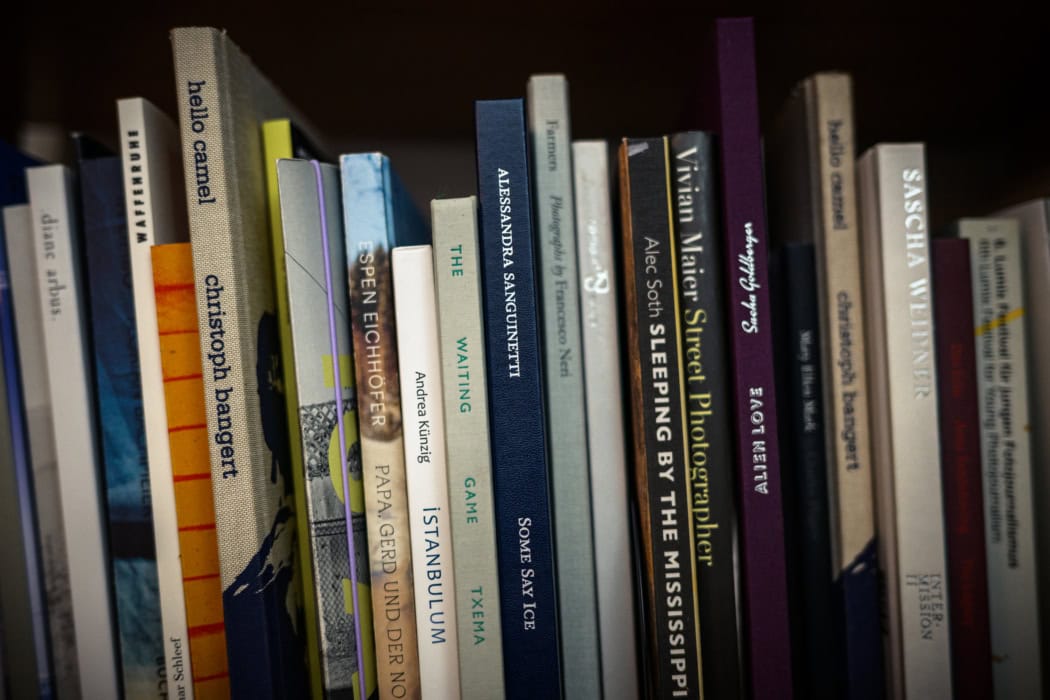 Photo: Felix Kaspar Rosić
Photo books can be a great source of inspiration: if a similar subject has already been photographed, that’s a good sign there is some public interest in it.
1. Idea and planning
The key to a successful photo reportage is sound preparation. A compelling subject is the foundation – whether a personal passion, a socially relevant issue or an investigation into political and social grievances. Photo reportage requires not only a good eye for pictures but also journalistic care:
Thorough research, background conversations, interviews with experts or those affected, and access to key locations are essential for telling a story strongly, both visually and in content. To stay inspired as a photojournalist, it’s worth looking beyond photo books – investigative journalism, documentaries and reportage from other media broaden your view and sharpen your own visual language.
Here are a few timeless sources:
Newspapers and magazines:
• National: Süddeutsche Zeitung, Die Zeit, FAZ – for in-depth analysis and reportage
• International: The Guardian, The New York Times, Le Monde – other perspectives sharpen your eye
• Photography and reportage: Geo, National Geographic, Der Spiegel – visual and narrative excellence
Documentaries and reportage formats:
• ARTE Re: and ZDF Die Spur – visually strong documentaries
• VICE and BBC Storyville – for bold, investigative reportage
Social media and online platforms:
• Instagram and LensCulture – current trends and other photographers’ work
• Magnum Photos and VII Agency – iconic photo reportage
Museums and exhibitions:
• Fotografiska, C/O Berlin, Magnum exhibitions – to see work in the original
Get out and observe for yourself:
• Markets, stations, demonstrations – good stories often happen where you least expect them
Choosing a subject
Before you start, ask yourself a few key questions. What do I actually want to say? Choose a relevant subject that speaks to readers – whether a social issue, a personal fate or a development in society. Who should be the main character? A strong protagonist makes the story tangible and emotional.
People help to make abstract issues understandable. Who is the reportage aimed at? Style and content should be tailored to the target audience. And finally: do I have permission to take photos? Especially with sensitive subjects, it’s important to clarify this in advance.
Even as a child, I wanted to be a midwife – the subject never let go of me. Through my studies, I’ve now found a different way into it.
 Anjou Vartmann
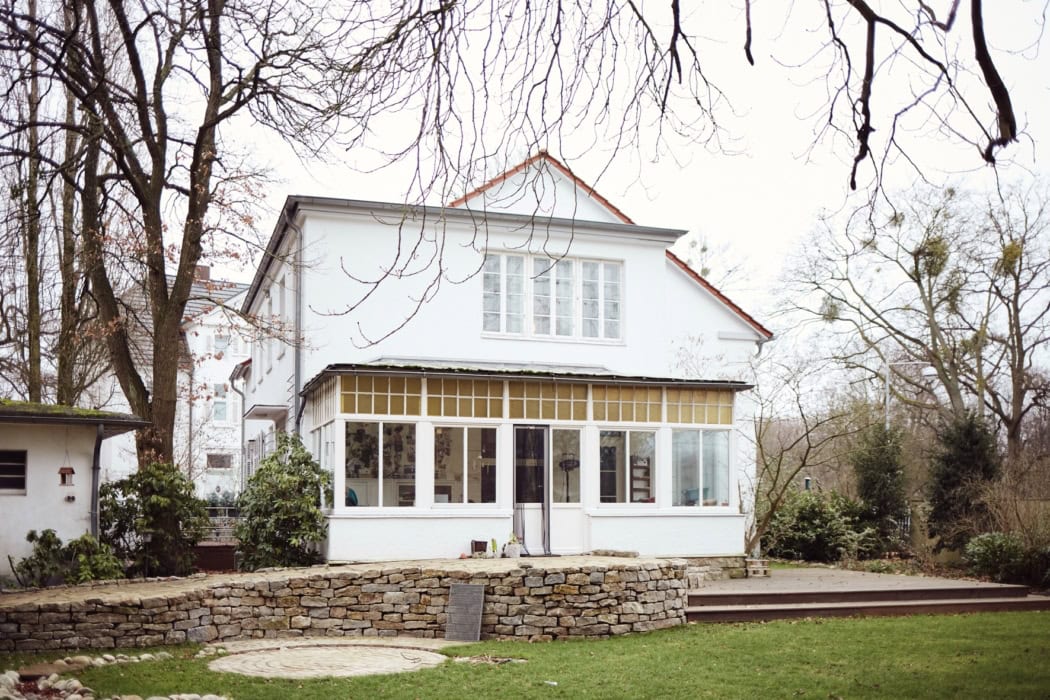 Photo: Anjou Vartmann
Sometimes it pays to approach a subject with patience. Early research often produces only a few pictures, but key subjects can always be captured. Photographer Anjou Vartmann, for example, photographed both the outside of this birth centre and what happens inside – both are part of the story.
Scheduling was unpredictable – births took longer or got in the way. I often asked myself: am I in the way? So I tried to be as unobtrusive as possible.
Anjou Vartmann
A shot list helps you keep track without restricting the spontaneity of your pictures. It serves as a guide to make sure all the important elements of a story are covered. To do this, you think in advance about which pictures are essential: wide shots that show the surroundings and context, detail shots that capture moods and nuances, and portraits that make the people in the story tangible. Atmospheric pictures and unusual perspectives should also be considered, to create tension and depth.
At the same time, documentary work requires flexibility – unforeseeable events are part of it. Time buffers help you respond to delays, and an open attitude lets you engage with new situations.
The shot list isn’t a rigid plan but a flexible aid to memory – the best pictures often come from unexpected moments. But if you’re prepared, you can move more freely in these situations and still tell a complete, visually strong story.
Tip
Planning gives the reportage structure. A striking opening picture grabs attention, while a mix of wide shots, portraits and details brings the story to life. Technical preparation, permissions and a flexible shot list complete the planning. The result is a powerful story that convinces both visually and in content. A good photo reportage needs a common thread – decide what message or emotions you want to convey.
Managing resources:
Financial planning for a photo reportage begins with a realistic budget. Travel and transport, accommodation, food and any permits or hire costs for special equipment are key items. You also need to allow for insurance – for equipment and liability, for example – and fees for any assistants or local helpers.
To cover the costs, you can rely on sources of income such as selling the reportage to media outlets, crowdfunding or funding programmes (although that’s very difficult at the start of your career and a subject for another guide).
A reserve for unforeseen expenses is essential, as is keeping track of spending so that you stay within budget. That way the financial framework stays clear, and you can concentrate fully on the work itself.
She was on site ten to twelve times for four hours each, she says. ‘Luckily, the birth centre was nearby,’ says Vartmann. Post-production took another one to two hours per visit.
The project lasted a semester, but the first photos were only taken after six to eight weeks, and the final pictures after about three months.
Anjou Vartmann
A short detour into business studies:
Bad news: (almost) nobody pays for long-term projects any more.
Large, elaborate photo stories are the exception today, not the rule. Editorial teams hardly finance long-term projects any more, and anyone who devotes themselves to them anyway often does so at their own risk. The idea of making a living from in-depth photographic work has become an illusion. If a project pays off later, that’s a matter of luck – a real income can hardly be earned from it.
A sample calculation: a semester’s work. The first weeks pass without any pictures, as trust has to grow. After three months, the crucial shots are taken. Ten to twelve visits on site, three to four hours each. Post-production? At least another 24 hours. At the end, there is a finished story – but what’s left financially? Little more than experience, after a rough total of 80 hours’ work. If you sell this story for, say, a utopian €2,000, that works out at €25 an hour – so far, so good.
But that’s only the theory. Because the following items still have to come out of that €2,000:
• Tax and social security contributions: depending on your status, about 30–40 per cent, so around €700.
• Equipment costs: camera, lenses, laptop, storage media – realistically, €200–300 per project.
• Insurance: professional liability, health insurance, pension – a share of about €150.
• Travel costs: even if getting there was ‘no problem’, car or train realistically cost €50–100.
• General running costs: software, website, archiving, office supplies – a share of at least €100.
In the end, at best €500–700 is left of the supposed €2,000. For 80 hours’ work, that’s an effective hourly rate of €6 to €9 – below the minimum wage.
The days when photography could work on pure dedication are over. Today it takes other ways to tell stories in pictures – and staying power to finance them. Many photojournalists therefore pursue their art alongside another job or secure financial support in other ways: grants, funding programmes, partnerships with NGOs or crowdfunding offer ways of realising independent work. Those who network skilfully and use alternative funding models can tell long-term stories despite the difficult conditions.
What once promised glamour and glory barely brings the glory today.
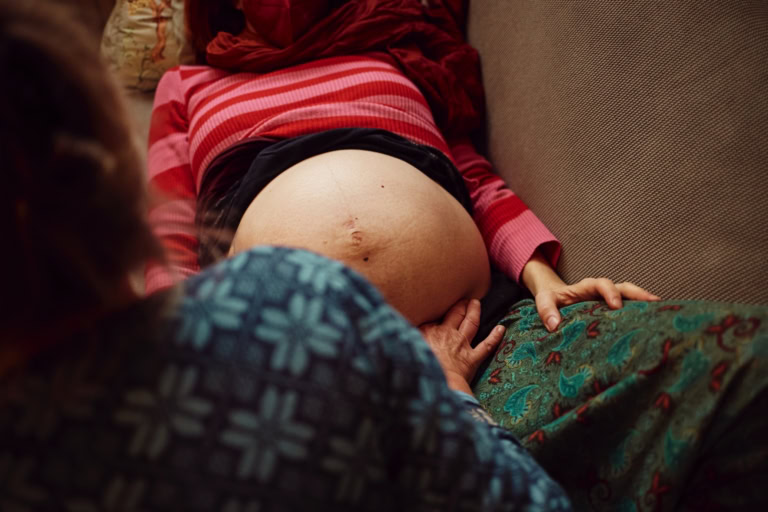 Photo: Anjou Vartmann
A shallow depth of field can help guide the viewer’s eye. Anjou Vartmann didn’t necessarily need a full-frame camera for this, but it made the effect easier to achieve even in wide-angle shots.
The technology
First you need to choose your camera system. The choice is huge – from compact APS-C models to medium-format cameras. For beginners in particular, used, slightly older full-frame DSLRs offer an affordable way in with good image quality. But which system is right for you?
• APS-C: compact, light and inexpensive – ideal for mobile reportage, but with compromises in image quality and look.
• Full frame: better low-light performance and greater dynamic range – the best compromise between quality and flexibility. The larger sensor also makes it easier to get a blurred background (bokeh).
• Medium format: the highest detail and a special aesthetic, but bulky and slow – more suited to staged work than fast reportage. Not for beginners, above all because of the high price!
A look inside my reportage backpack
Reportage means being able to react quickly to situations – there’s rarely time to rummage around. That’s why I work with two cameras: one with a versatile zoom, the other with a strong wide-angle. That way I’m prepared for surprises.
Cameras:
Nikon Z8 and Nikon Z6II
Lenses:
Tamron 35-150mm F/2-2.8 (on the Z8)
Nikon 14-30mm F/4 (on the Z6II)
Nikon 40mm F/2 (small, light, cheap)
Nikon 105mm F1.4 (portraits and low light)
Flash:
Godox AD100 Pro with small softbox and stand
Accessories:
Memory cards, batteries, hard drives, card reader
Power bank, laptop, notepad
(!) Water, small snack, ibuprofen
Depending on the job, I pack more lights, stands or lenses.
With prime lenses, you trade flexibility for image quality. They offer crisp sharpness, soft bokeh and strong low-light performance – but require more movement and deliberate composition.
While modern, fast zooms keep getting better, they often lack that last 10 per cent of sharpness, subject separation and character. Primes remain the more aesthetic choice for anyone who wants to get the most out of light and look.
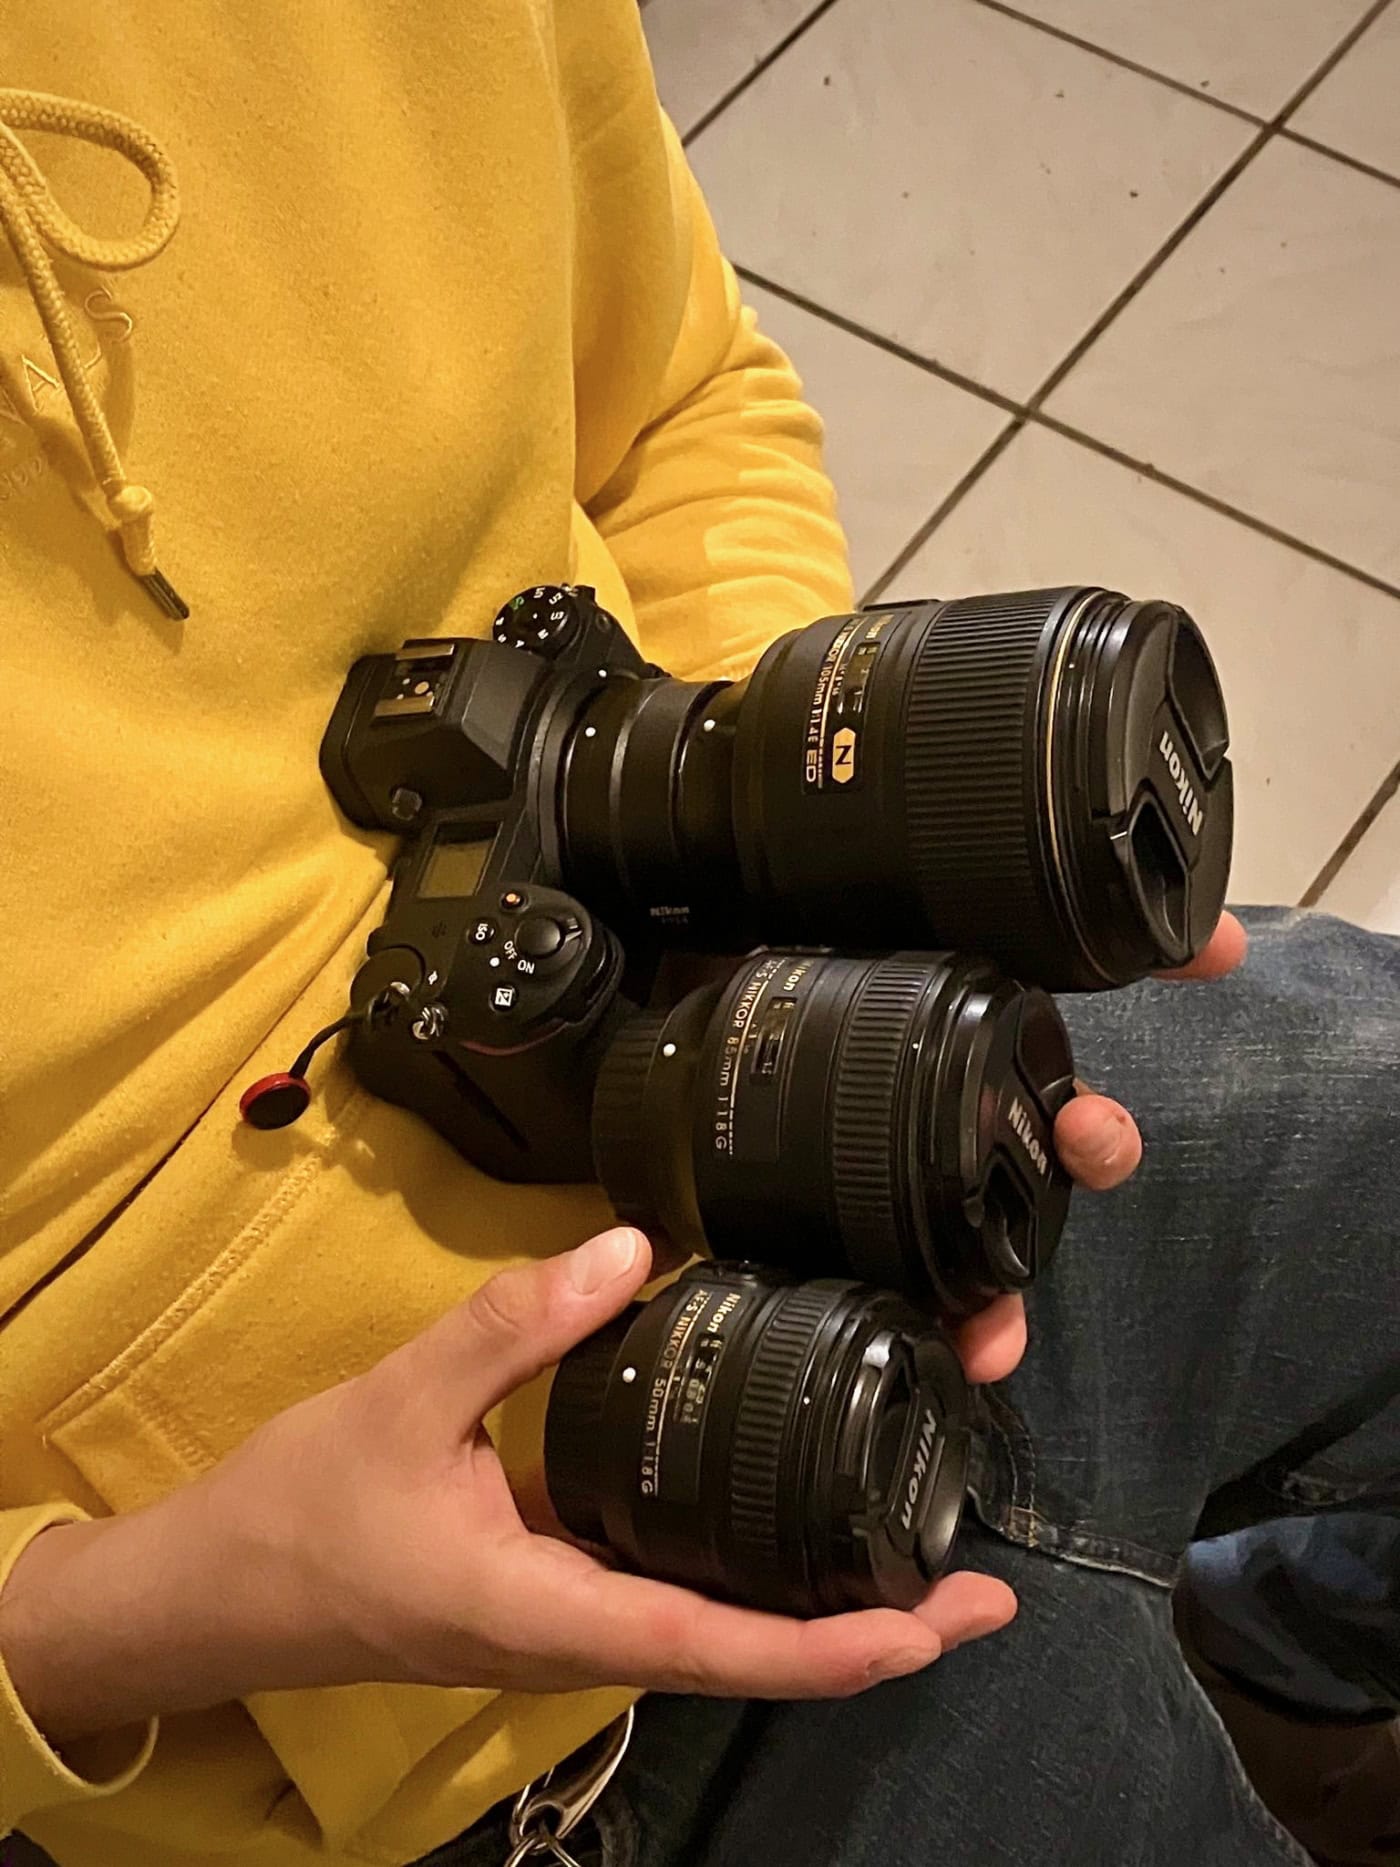 Photo: Fabian Niebauer
Packing list for your camera bag:
Camera. Obviously. A full-frame camera is the industry standard. For professional press work, a second camera is an advantage.
Lenses. Only pack what you need. The classic zoom set is the ‘holy trinity’: 14-24mm f/2.8, 24-70mm f/2.8 and 70-200mm f/2.8 – every camera system offers this trio. But you have to decide what suits the way you work. Reportage can also be shot superbly with primes.
A 35mm on the main camera and an 85mm on the second camera are favourites of many wedding photographers for good reason – flexible, light and with a special look.
Memory cards. Most professional cameras have two card slots – fill both with quality memory cards for redundancy and the reassurance that your photos are safe.
Spare batteries. This can’t be stressed enough: one – or better, two – spare batteries keep you flexible and let you take as many pictures as you want.
Computer and notebook. Notes are essential – a notebook comes across as more polite on site than a smartphone, and you should simply always have your computer with you.
Food and drink. Self-care leads to success.
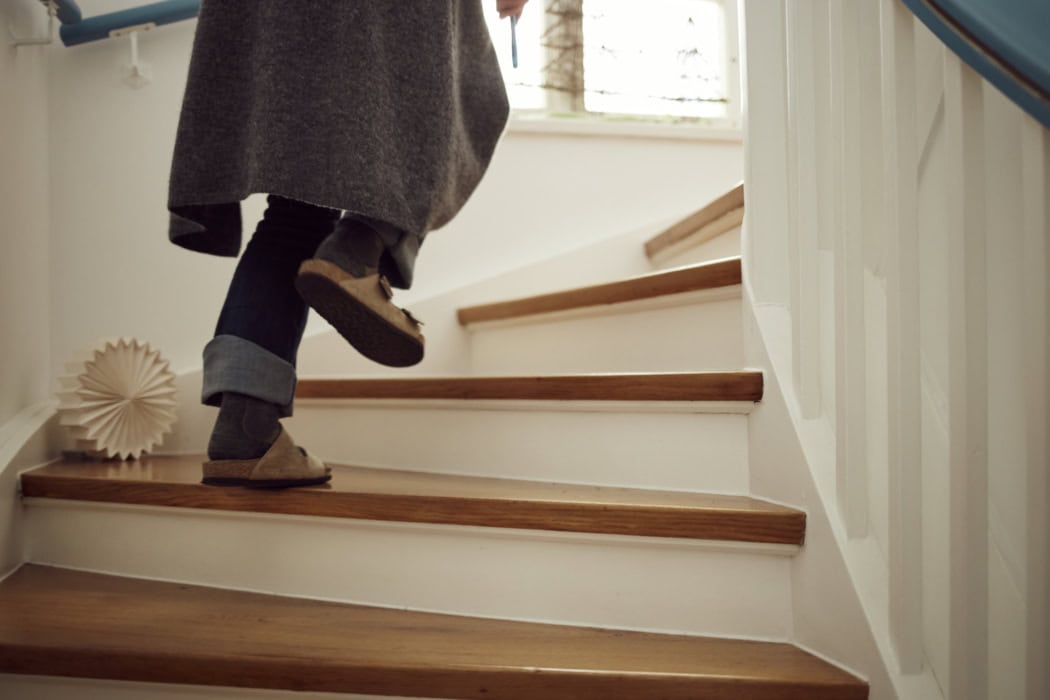 Photo: Anjou Vartmann
A midwife rushes up the stairs in a birth centre: the motion blur and framing suggest haste and convey a sense of urgency. This device brings tension and dynamism to the story but is very hard to plan – it takes an alert mind and flexibility.
3. Production on location
The next steps are explained using the photo story ‘Geburt im Geborgenen’ (Birth in a safe place) by Anjou Vartmann. It looks at everyday life at the Herrenhausen birth centre in Hannover, where midwives provide personal one-to-one care away from overcrowded labour wards. It shows the challenges posed by the shortage of midwives in Germany, what makes birth centres special as an alternative, and the intense bond between midwives, women giving birth and their families.
On location, the planned story comes to life – but flexibility is crucial, as much turns out differently from what you expected. Keep the narrative in mind at all times and ask yourself with every subject whether it captures the atmosphere, emotion or action that fits the story.
A well-thought-out shot list serves as a guide to cover key elements such as context shots, portraits and details. But stay open to unforeseen moments, which usually tell the most authentic stories. Always plan enough time buffer, and keep in close contact with the people you are photographing.
 Cover: dpunkt.verlag
You should ask yourself: do my photos really convey information to people who weren’t there?
 Prof. Lars Bauernschmitt
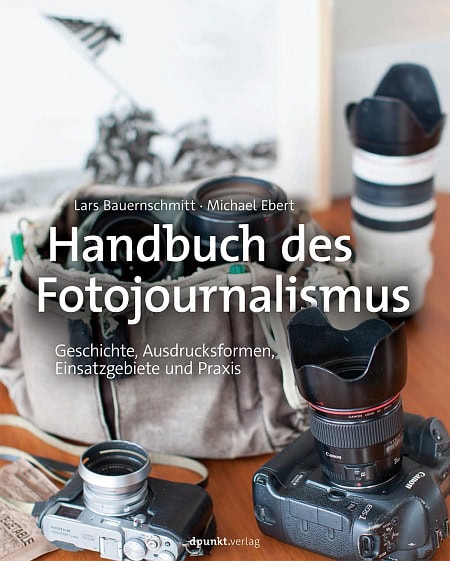
The ‘Handbuch des Fotojournalismus’ (Handbook of Photojournalism) can be a good place to start delving deeper into the field. Many years in the picture market resulted in a comprehensive guide, written by Prof. Lars Bauernschmitt together with Michael Ebert. The book was published in 2015 by dpunkt.verlag in Heidelberg.
Dramatic structure
Every picture should contribute to the story, and the sequence of photos should develop logically and emotionally. So you think in dramatic arcs: a strong opening picture draws viewers into the story, while the following pictures create depth – through a change of perspective, different emotions or visual details that make connections clear.
You are always looking for subjects that say more than they show, for example through symbolism or contrasts. At the same time, you should check whether there are gaps in the story that need filling by deliberately looking for subjects that are still missing.
On-location checklist
Does this subject fit the story I want to tell? Don’t get hung up on unimportant details.
Am I taking home enough variations? Use different perspectives, lighting moods and framings.
Always be ready! Capture authentic emotions and decisive moments.
How do I solve the current situation technically? Keep your camera settings under control and get the best out of each moment.
Note: the last question can come between you and what’s happening. Our Professor Michael Trippel says:
‘It’s essential that you can operate your camera blindfolded.’
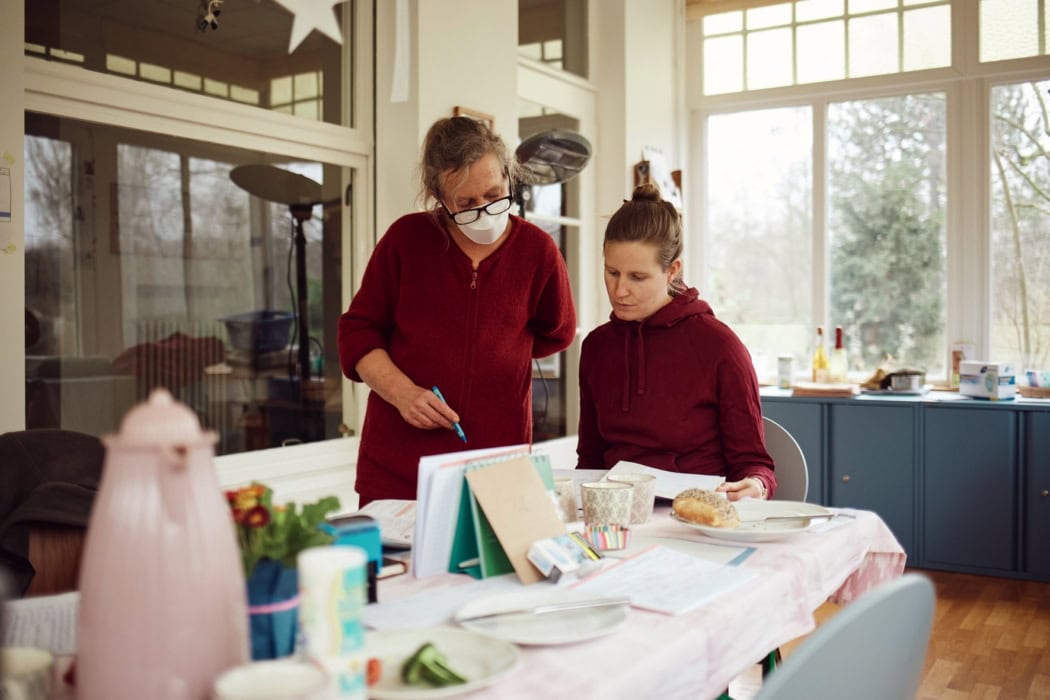 Photo: Anjou Vartmann
Give the people you photograph time to get used to you. Conversations can and will break the ice sooner or later, and then you can be ‘in the moment’. Don’t influence what happens, but always be friendly and open. Be human!
Talking to people on site helps you capture their stories authentically and build a basis of trust that is reflected in the pictures. It is also crucial to clarify on site whether you may show people or not. The best way is simply to ask nicely. That shows you are both professional and friendly.
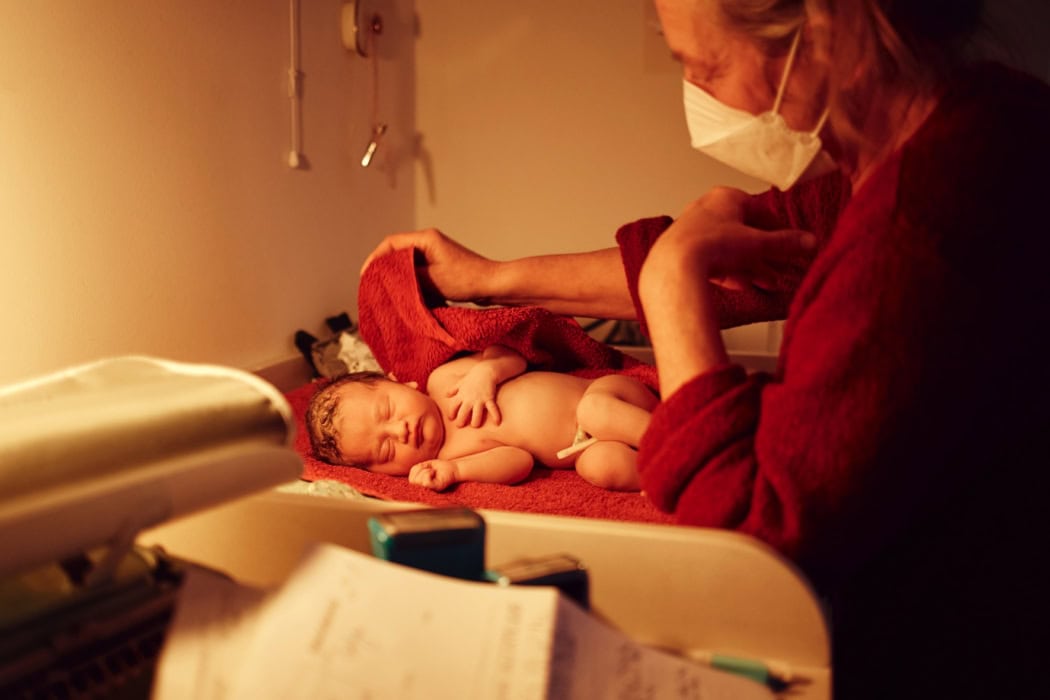 Photo: Anjou Vartmann
Stay alert: some situations and constellations are unique – they happen exactly once. And you have to be fully ready to photograph them.
Storytelling during production is a balancing act: between structure and intuition, planning and spontaneity. In the end, it’s about capturing the essence of the story in a series of pictures that is both authentic and gripping. Keep reminding yourself which parts of your shot list you have already captured and – if events allow – take a moment now and then to reflect on what’s happening and glance at your notes.
Your goal
Take as many photos as necessary to capture the most important moments, but always keep relevance in mind. The advantage of digital photography? At first glance, more pictures cost nothing. Whether 20 or 1,000 – storage is cheap, and the chance of catching the perfect moment increases.
But every shot also means more time for viewing and editing. In the past, with expensive film or limited storage, every click was more deliberate. Today, the limiting factor isn’t the material but your time at the computer.
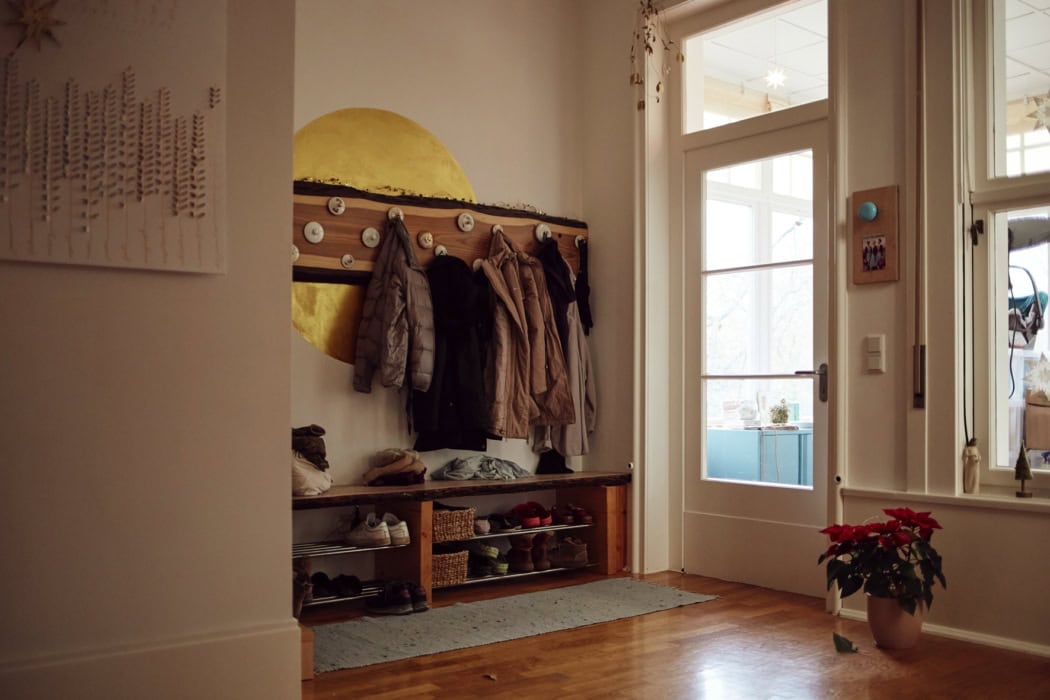 Photo: Anjou Vartmann
The place is just as important as the action: after all, viewers are only there through you and your camera, and they want to get their bearings. It’s also important to work out where the light is falling from.
These practical considerations are crucial: take your time, observe and decide. Respond to the time of day and the surroundings to enhance the atmosphere of your pictures. Despite all the planning, always remember that real moments are usually unpredictable. So be ready at all times to press the shutter just when something special happens.
4. Editing your photo reportage.
This is where the story takes shape.
1. Rough selection: weed out unusable pictures (blurred, duplicated, technically flawed).
2. Fine selection: pick out the best pictures by content, aesthetics and relevance.
3. Dramatic arrangement: create a logical and emotional order.
Before the pictures are put into a sequence, they should be matched technically and visually. That includes basic processing that doesn’t waste time but makes the whole look coherent.
After first weeding out blurred or faulty shots, the essential adjustments are made: exposure, contrast, white balance and sharpness. The aim is a consistent aesthetic that makes it easier to arrange the pictures harmoniously later on.
Arranging the pictures gives the story its rhythm and impact. It’s not just about choosing the strongest images but about how they relate to one another. The order should make the story logically and emotionally easy to follow – with a clear opening, a build-up of tension and an ending.
Contrasts between pictures can create tension, while calmer moments provide deliberate balance. What matters is a visual flow that guides viewers through the series and directs their attention.
 Photos: Anjou Vartmann
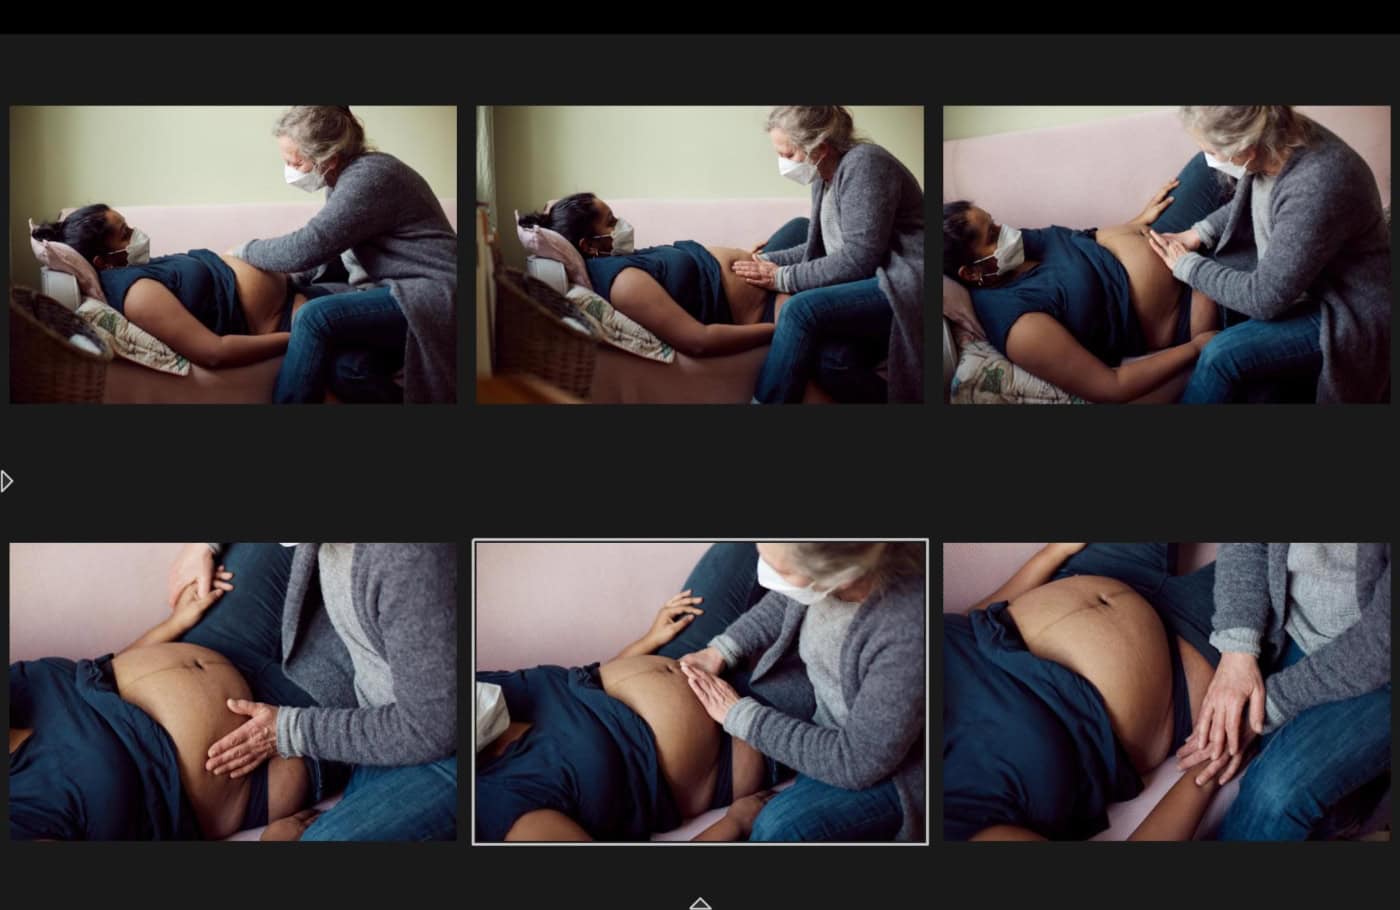
Now you’re spoilt for choice: which of your photos will you choose for your story?
The sequence
Experiment with the order until the pictures together have the effect you want. That sounds easier than it is – not least because a bad edit would weaken a brilliant story.
It doesn’t work the other way round, but an exciting sequence can turn a mediocre shoot into a top result. Bad weather or a tense subject push even the best reportage photographers to their limits. Arranged skilfully, none of your challenges will be visible later.
The best way to start is to print your pictures small. That way you keep an overview of the whole photo story and get a hands-on feel for sorting and ordering them. You can also work on the computer, but for lack of screen space you’ll soon hit the limits of what you can see.
Digital alternatives include virtual pinboards or special software such as Adobe Bridge, Lightroom or applications like Pixellu SmartAlbums. Simple methods such as arranging pictures in an empty PowerPoint or InDesign document can also help you view the series at a glance and rearrange it flexibly.
A good photo reportage follows a clear narrative structure with a beginning, middle and end, in which the people in the story develop. But that doesn’t mean the pictures have to be arranged in strict chronological order. Rather, they should fit together so that they work aesthetically and at the same time tell the story in an engaging and exciting way.
Tension often arises from unusual sequences or ways of presenting things. If two pictures are similar in quality and content, it’s usually worth simply choosing the stranger one – it grips viewers, draws them further into the story and shows out-of-the-box thinking.
Visual language becomes part of the meaning of your work.
 Prof. Dr Karen Fromm
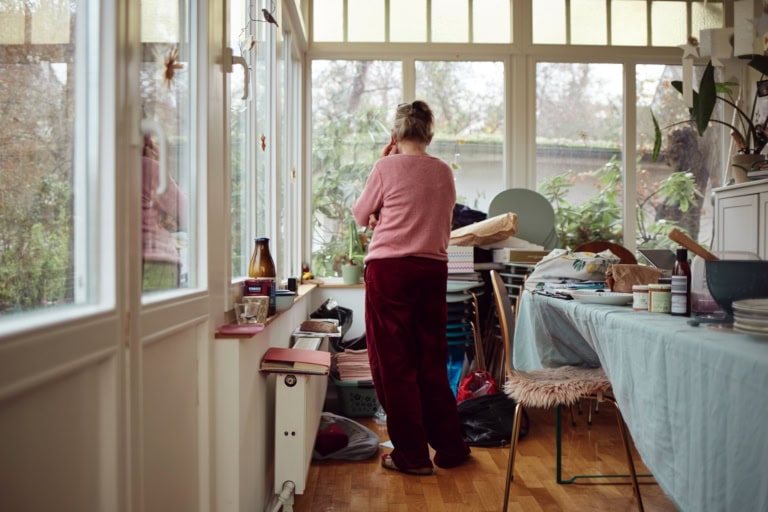 Photo: Anjou Vartmann
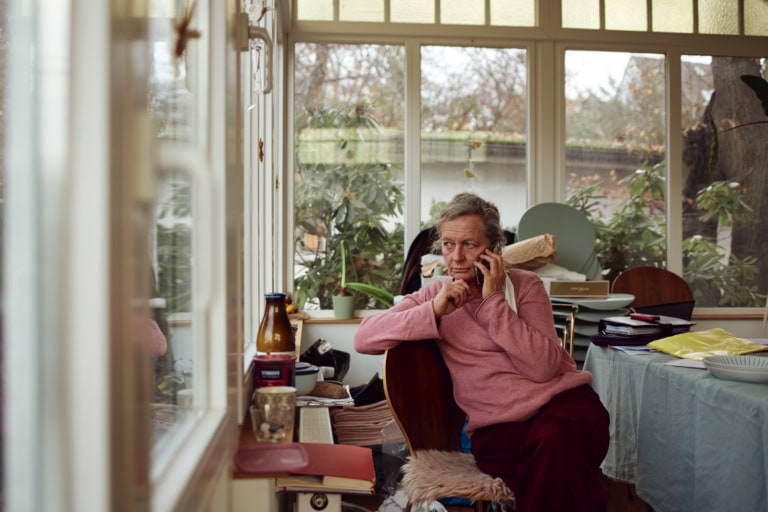 Photo: Anjou Vartmann
Both pictures fit the photo story and at first glance tell the same thing – but which one do you drop?
 Photo: Anjou Vartmann
Details give your story a breather and add depth at the same time. A brief pause does you as much good when photographing as it does your audience when looking at your photo reportage.
Four questions for the perfect sequence
Does the order tell a clear and emotional story?
Do the pictures fit together visually?
Is there a balanced dynamic between calm and dramatic moments?
Does the narrative flow naturally from one picture to the next?
Tip: take a break and then look at the sequence again with fresh eyes to find the best order.
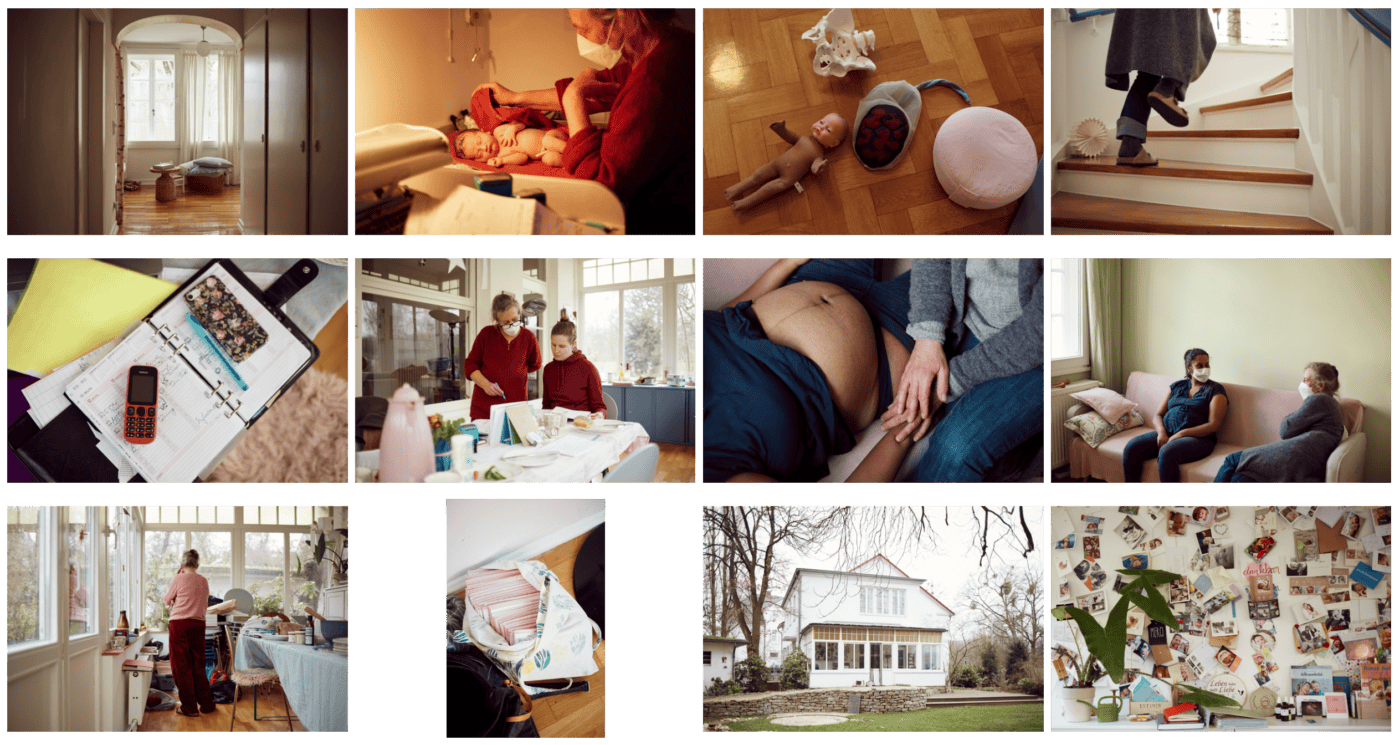 Photos: Anjou Vartmann
After sequencing comes the fine-tuning: optimise exposure, colour and sharpness to get the best out of the pictures without losing authenticity.
The finishing touches
There are countless tutorials online on how to use editing software – we don’t need to go into that here. But anyone working journalistically should observe a few basic ethical principles.
A text by Philipp Spillmann makes clear the limits of image editing in journalism, particularly with regard to competitions such as World Press Photo, POYi or Visa pour l’Image. While adjustments to colour, contrast or sharpness are permitted within certain limits, the basic principle remains the same: the content of a picture must not be manipulated.
The rules differ slightly from competition to competition, but a clear line is crossed when the reality of the scene is altered – whether through digital retouching, removing or adding elements, or deliberately concealing details.
Staging that fakes a false reality also contradicts the principles of photojournalism. Anyone submitting work to competitions or for publication should therefore always check the relevant guidelines carefully so as not to breach ethical standards.
Taking photographs is not a simple act of approaching a truth but a complex process of communication.
 Philipp Spillmann
For image editing in journalism, this means that no changes may be made to the content. Retouching is only permissible if it doesn’t falsify the facts. In other words, editing photos is about improving technical quality – adjusting exposure or sharpness, for example – but not about changing the content of the picture or the story behind it.
The World Press Photo Foundation therefore stresses that editing is acceptable as long as the ‘fact’ of the picture is preserved. This underlines that photography is not just recording reality but always an interpretation of the moment – one that must be transparent, however, and not manipulative.
In practice, this means photographers must not change anything in editing that affects the authentic depiction of events. Retouching in line with industry standards, such as removing sensor dust or adjusting exposure and contrast, is acceptable as long as it doesn’t falsify the content of the picture.
Perspective correction is debatable: does it change what the picture says? Some of this is rather vaguely worded, but the basic idea that everything should ideally come ‘straight out of camera’ will help you.
 Photo: Ludwig Nikulski
After the job is before the job, right? Once the photo story is finished, the question arises of what should happen to it next.
5. Post-production, legal aspects and marketing
What happens when your photo reportage is finished? You’re not quite done yet. Your work needs context – whether through a short description or a longer accompanying text. With journalistic work in particular, it’s important that the pictures have the right metadata. This includes important information such as the title, author, location and date, and a caption where appropriate.
You enter the metadata directly in image management software such as Adobe Lightroom, Photo Mechanic or Capture One, or later in the content management system (CMS) of a website or publication. Alt texts are also essential for online use – they improve accessibility and help search engines understand the picture. It’s best to write these texts yourself to make sure the pictures appear in the right context.
The last step is presentation. Here you check how the shots work together and whether they convey the intended message clearly. Whether online, in an exhibition or in print – you prepare the pictures for the medium in question. But the work isn’t quite finished yet.
It’s important to make sure all ethical and legal standards have been met and, if necessary, to get feedback to improve the presentation. By now at the latest, you should also have consent from everyone involved. Clear documentation will help you later, either to continue working or to give you security if anyone challenges your claims and photos.
If you want to sell your work to an editorial team, take a look at this guide. It describes the next steps and how to succeed.